Generate Subtitles From Video: Fast AI Captions In Minutes
At AI Flow Chat
Contents
0%You recorded the video, nailed the content, and now you need captions, fast. Whether it's for YouTube, TikTok, Instagram Reels, or an ad creative, the ability to generate subtitles from video using AI has gone from "nice to have" to non-negotiable. Roughly 80% of social media videos are watched on mute, which means no captions equals no engagement.
The good news: you don't need to manually transcribe a single word anymore. AI-powered transcription tools can now extract speech from your video files and spit out accurate subtitle files (SRT, VTT, you name it) in minutes instead of hours. Some handle multiple languages. Some auto-sync timestamps. And the best ones let you edit the output directly before exporting.
If you're already using AI Flow Chat to pull transcripts from YouTube videos, TikToks, and Reels for content creation, you know how useful automatic speech-to-text extraction is inside a visual workflow. But sometimes you need standalone subtitle files for your own videos, not just transcripts from someone else's. That's what this guide covers: the fastest, most reliable ways to generate subtitle files from any video you've got.
Below, you'll find a step-by-step breakdown of how AI subtitle generation actually works, which tools are worth your time, and how to get clean, accurate captions without burning through your afternoon. We'll also cover common formatting pitfalls and how to avoid them so your subtitles look professional on every platform.
What subtitles are and what you need
Before you generate subtitles from video, it helps to understand exactly what you're producing and why the format matters. Subtitles are text-based transcriptions of spoken audio, synchronized to a video timeline using timestamps. They come in two distinct forms: standalone text files (like SRT or VTT) that sit alongside a video and load separately, or burned-in captions that get permanently baked into the video pixels. The right choice depends on your publishing platform and how much control you want to retain over the caption styling after export.
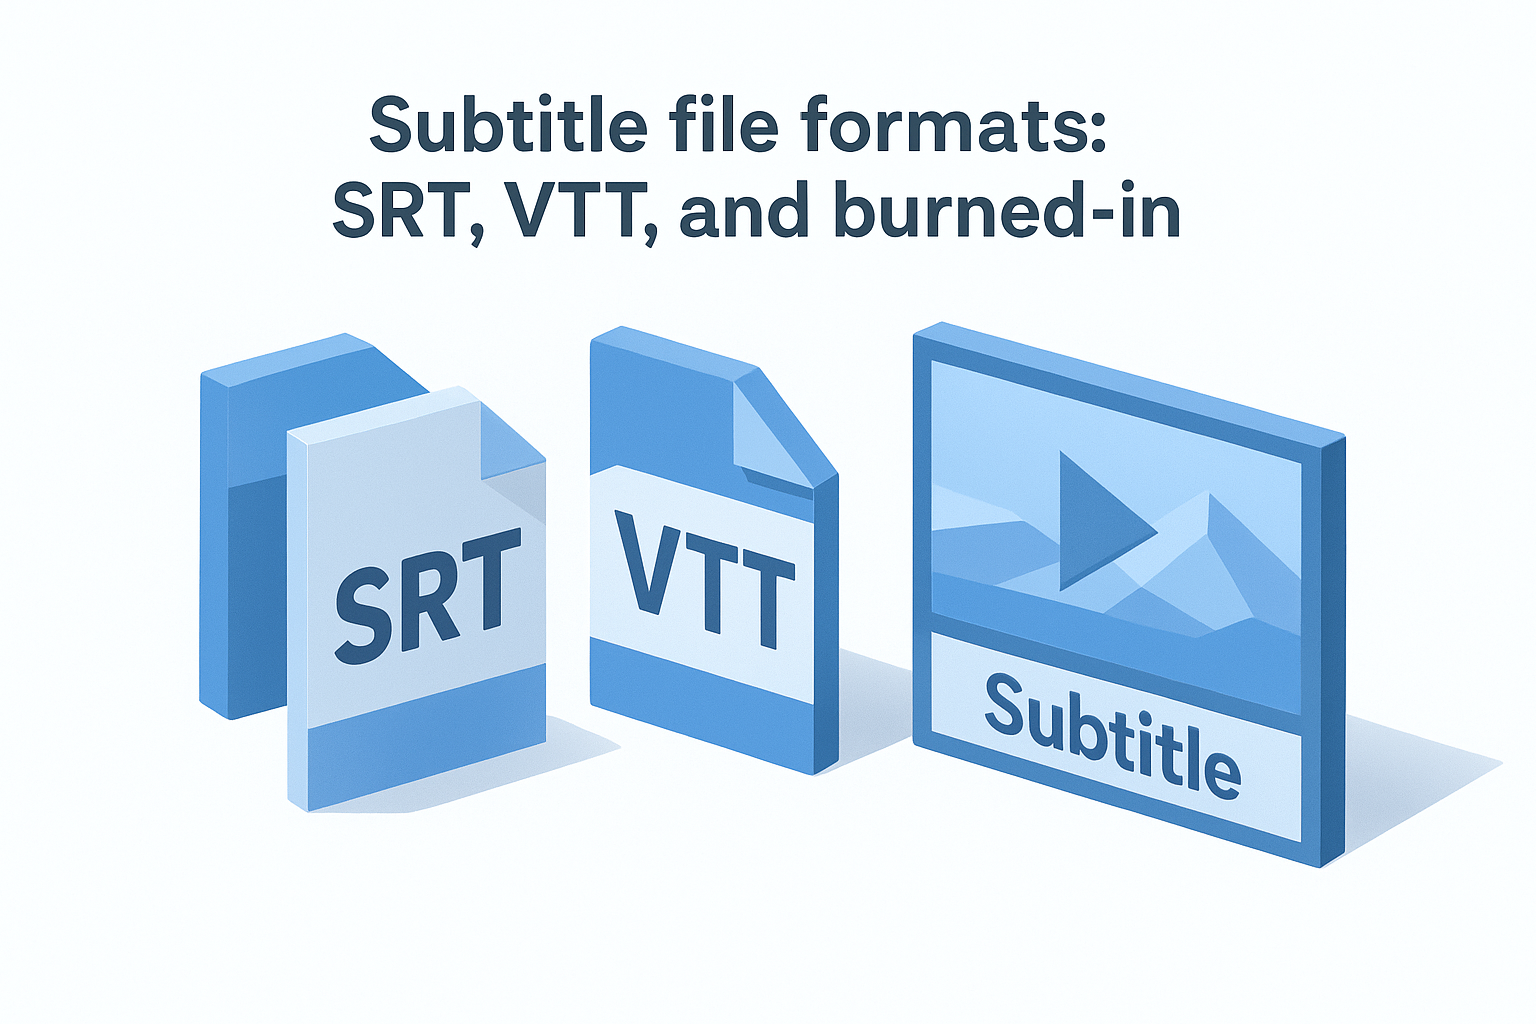
Subtitle file formats: SRT, VTT, and burned-in
The most common format you'll work with is SRT (SubRip Text), a plain text file that uses numbered entries with timestamp ranges and dialogue lines. YouTube, Facebook, LinkedIn, and most video players support SRT natively. Here's what the structure looks like:
1
00:00:01,000 --> 00:00:04,000
Welcome to this tutorial on subtitle generation.

2
00:00:04,500 --> 00:00:08,000
Today we'll cover everything you need to get started.
VTT (WebVTT) follows a nearly identical structure but uses a dot instead of a comma in the timestamp (00:00:01.000) and is the standard for HTML5 web video players. If you're embedding video directly on a website, VTT gives you better browser compatibility. ASS and SSA files support advanced styling options like custom fonts, colors, and on-screen positioning, but those are mainly used for animation dubbing and aren't needed for standard social media or marketing workflows.
If you're not sure which format to export, choose SRT first. It's accepted by virtually every major platform and can be edited in any plain text editor without special software.
Burned-in captions are different from both. Once they're rendered into the video, you cannot edit or remove them. They're useful when you need captions to display consistently across any player (including platforms that don't support sideloaded subtitle files), but they lock you into a single style choice.
What you need before generating subtitles
Clean output starts with good source audio. AI transcription models perform best when speech is clear and background noise is minimal. If your recording has heavy music layered under dialogue, overlapping speakers, or highly compressed audio below 128kbps, expect to spend more time correcting errors in the transcript afterward.
You also need to know a few specifics about your video before you pick a tool. Language and dialect matter significantly since a tool optimized for American English may mishandle regional accents or technical vocabulary. If your video features more than one speaker, look for tools that offer multi-speaker diarization to separate and label each voice automatically.
Run through this checklist before you start:
- Clear audio, minimal background noise or music
- Video file in a common format: MP4, MOV, MKV, or AVI
- Language and dialect confirmed
- Target platform(s) identified so you export the correct file type
- Video length noted, since longer files may require higher usage tiers on certain tools
With those details locked in, you're ready to choose the right workflow for your situation.
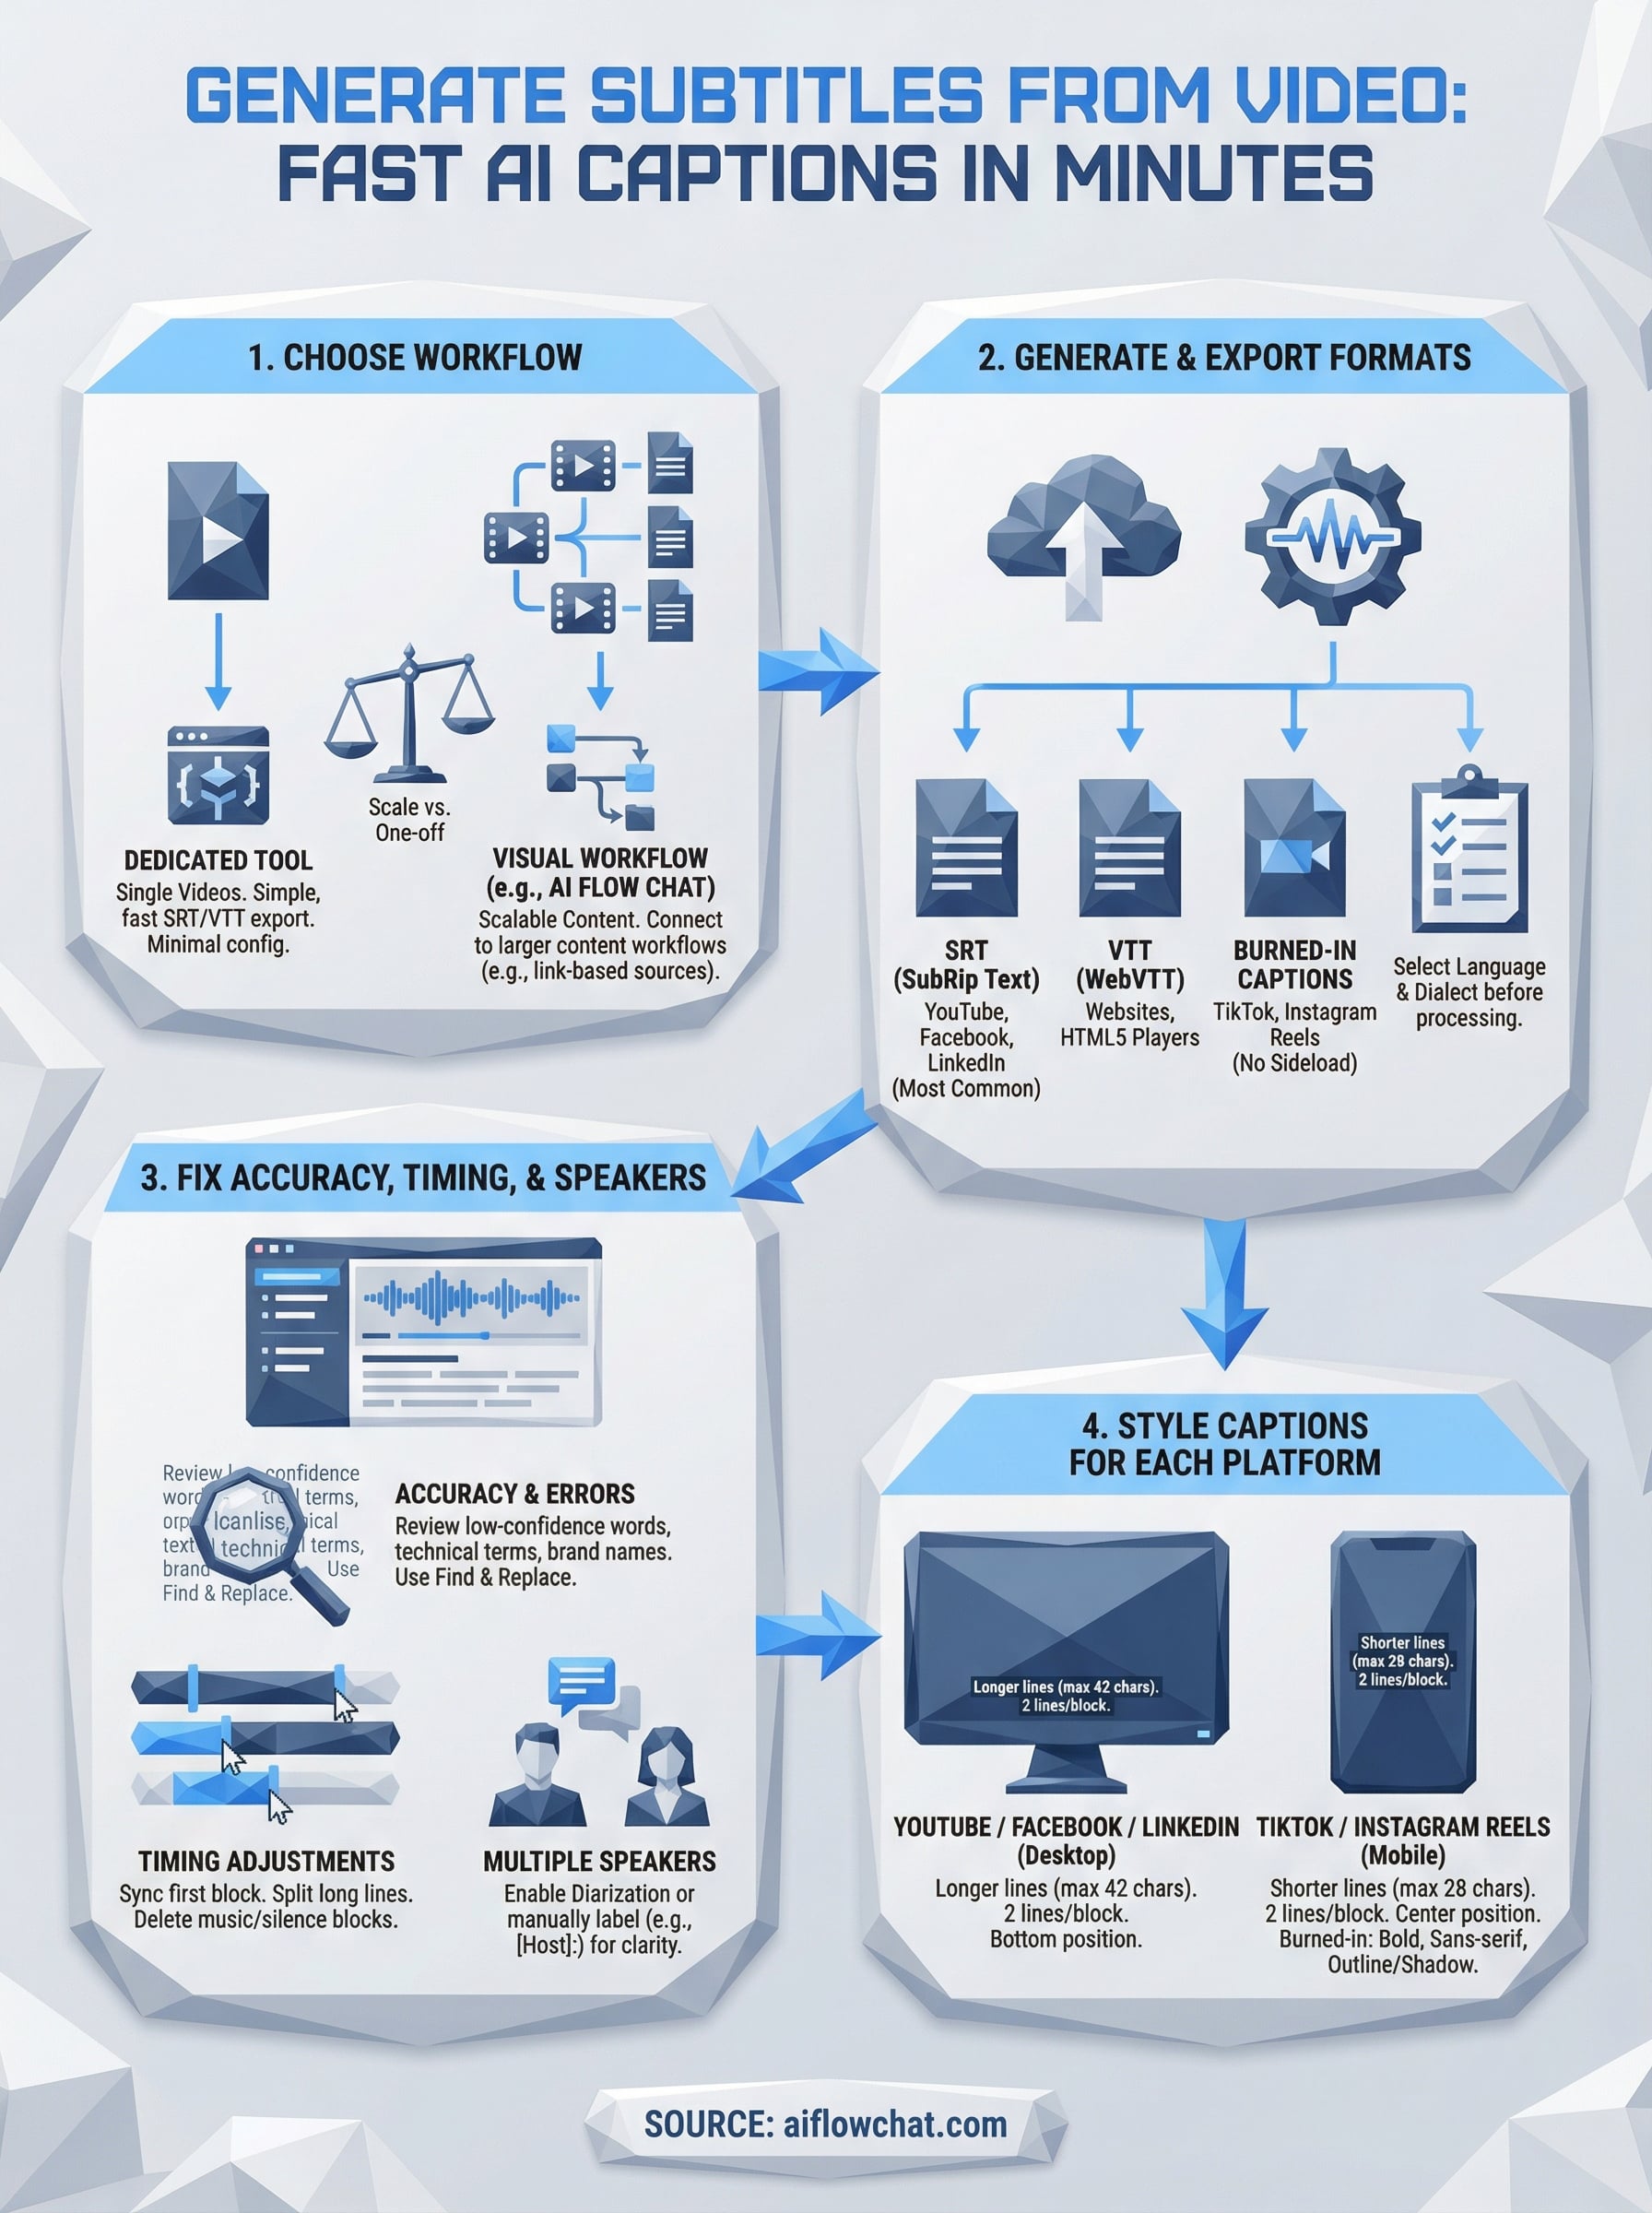
Step 1. Choose the right subtitle workflow
Not every situation calls for the same tool or process. The fastest way to generate subtitles from video depends on three things: how often you do this, what platforms you're publishing to, and whether you need a standalone subtitle file or an output that feeds into a larger content workflow. Getting this right upfront saves you from switching tools halfway through a project when you realize the output doesn't match what you actually need.
When a dedicated subtitle tool makes sense
If you're captioning one-off videos or client deliverables, a dedicated transcription tool is usually your fastest path. You upload your video file, the AI processes the audio, and you download an SRT or VTT file within minutes. These tools handle single-file jobs cleanly and require no setup beyond creating an account.
Choose a dedicated tool when your only goal is a clean subtitle file with minimal configuration and you don't plan to reuse the same workflow repeatedly.
The real tradeoff is scalability. Uploading files one at a time and manually downloading each output works fine for occasional use, but it becomes a bottleneck fast if you're captioning multiple videos every week. You also lose any connection between your subtitle content and the broader content strategy you might be building around those same videos.
When a visual workflow makes more sense
If you're already processing video content at scale, a visual workflow platform lets you connect transcription to downstream steps automatically. Instead of exporting a subtitle file and then switching tools to write a caption, a short-form script, or a blog post from the same video, you handle everything inside one connected workspace.
This approach also works better when you're pulling from link-based sources like YouTube videos, TikToks, or Instagram Reels, where you don't even have a raw file to upload. In those cases, paste-the-link transcription is the only practical option, and a workflow tool keeps the output usable beyond just the subtitle file itself.
Step 2. Generate subtitles and export formats
Once you've chosen your workflow, you can generate subtitles from video in a few straightforward steps. Most AI transcription tools follow the same basic pattern: you upload a video file or paste a link, the model processes the audio track, and the tool returns a timestamped transcript you can edit and export. The key is knowing which export settings to choose so your subtitle file works correctly on your target platform before you finalize anything.
Upload your video and run transcription
Start by uploading your video file or pasting a shareable link into your chosen tool. Most platforms accept MP4, MOV, and MKV files up to several gigabytes, though file size limits vary by subscription tier. Before you trigger the transcription run, select your video's spoken language and dialect. Getting this right at the start saves you from correcting cascading timestamp errors across the entire output after processing finishes.
After the transcription completes, review the output directly in the tool's editor before exporting anything. Most tools flag low-confidence words with a highlight or underline so you can spot problem areas without reading every line from scratch.
Fix obvious errors in the editor now, not after you've exported the file and embedded it somewhere else.
Pick the right export format
Not all subtitle files behave the same way across platforms. Use this table to match your target platform to the correct export format before you download anything:
| Platform | Recommended Format |
|---|---|
| YouTube | SRT |
| Facebook / Meta | SRT |
| SRT | |
| Website (HTML5 player) | VTT |
| TikTok | Burned-in captions |
| Instagram Reels | Burned-in captions |
TikTok and Instagram do not support sideloaded subtitle files, so burned-in captions are your only option for those platforms. Export an SRT file for platforms that accept it and store it in the same project folder as your video file. If a platform requires VTT, most tools convert directly from SRT using a single format toggle in the export menu, which means you rarely need a separate file conversion step.
Step 3. Fix accuracy, timing, and speakers
After you generate subtitles from video, raw AI output rarely needs zero corrections. Even the best transcription models stumble on proper nouns, technical terms, and brand names. Spending five focused minutes in the editor before you export prevents errors from going live on your channel or inside an ad creative where they're impossible to fix without re-uploading.
Correcting transcript errors
Most tools highlight low-confidence words automatically, so start there instead of reading every line from scratch. Click on the flagged word, listen to the original audio at 75% playback speed, and type the correction directly in the editor. For recurring errors, like a product name or industry term the model consistently misreads, use the find and replace function inside the editor to fix every instance in one step.
If the same word gets transcribed wrong more than twice, it will stay wrong throughout the entire file. Fix it with find and replace before moving on.
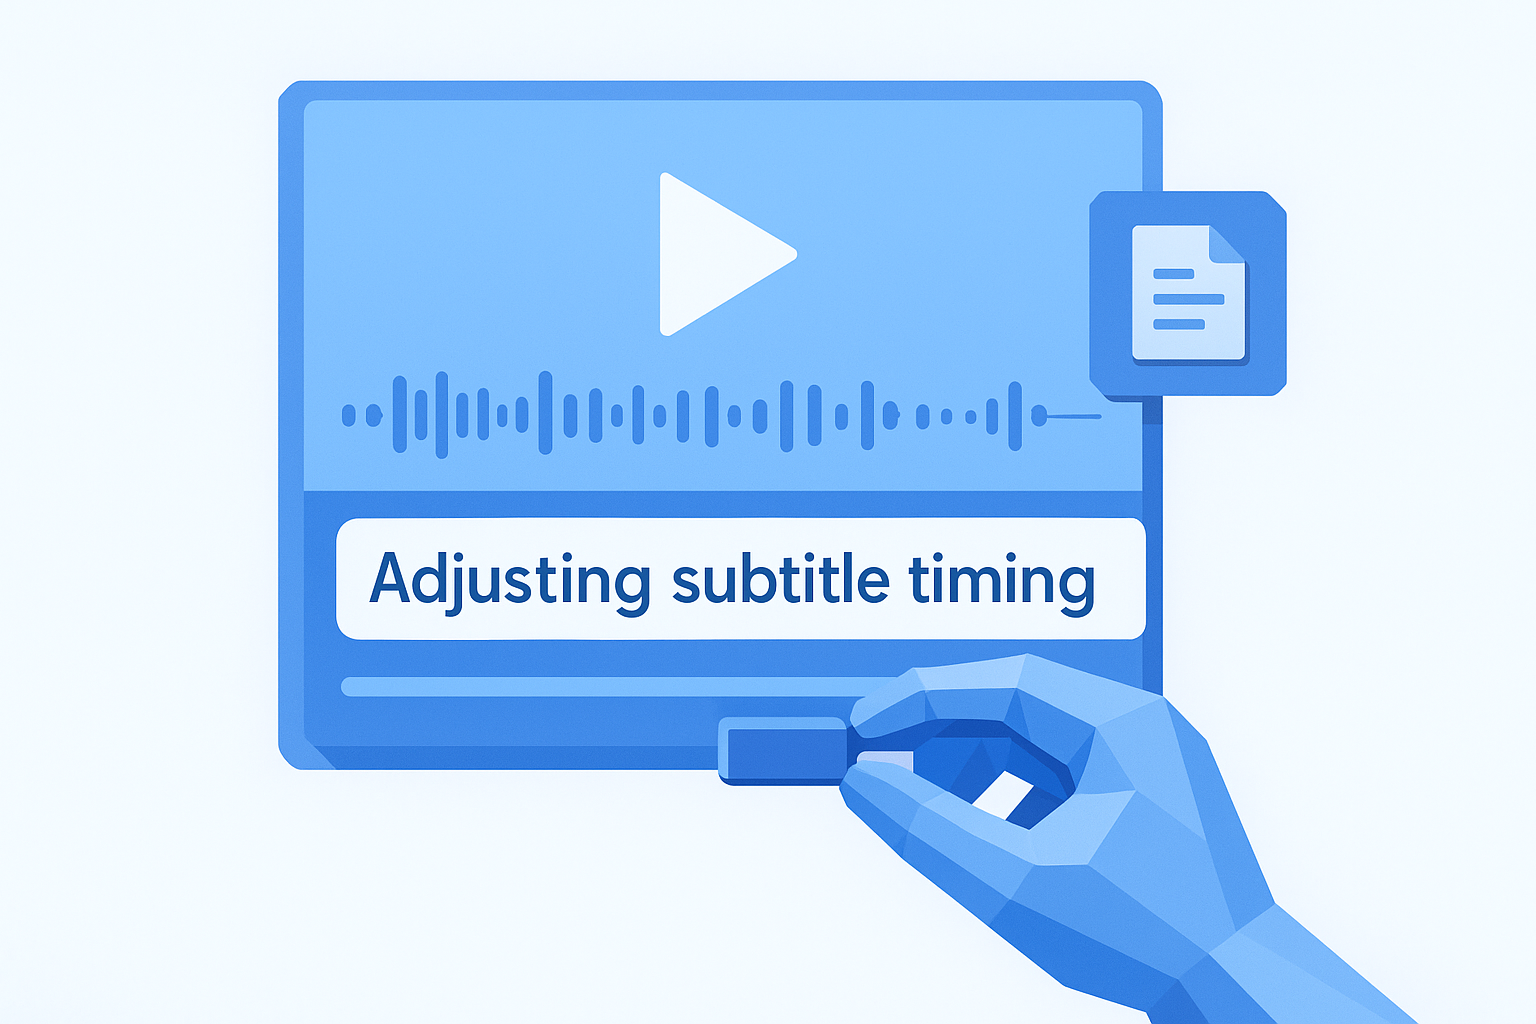
Adjusting subtitle timing
Timing errors are usually small, around 200 to 400 milliseconds off, but they make captions feel out of sync even when the text is correct. Use your tool's waveform view to drag the start and end handles for each subtitle block until the text appears at the same moment the word is spoken. Apply these timing adjustments in order of priority:
- Sync the first subtitle block first, then check every five to ten blocks
- Split any block that runs longer than six seconds into two separate lines
- Delete subtitle blocks that appear during music, silence, or b-roll with no dialogue
Handling multiple speakers
When your video includes two or more speakers, enable diarization if your tool supports it. This labels each speaker's lines separately, which matters if you're using the file downstream for anything beyond playback. If your tool lacks diarization, add a speaker label manually at the start of each line so any editor or collaborator reviewing the file can follow the dialogue without confusion:
1
00:00:01,000 --> 00:00:03,500
[Host]: Today we're covering subtitle generation.

2
00:00:04,000 --> 00:00:07,000
[Guest]: It saves a huge amount of time at scale.
Step 4. Style captions for each platform
Once you generate subtitles from video and clean up the transcript, how your captions look determines whether viewers actually read them. Platform audiences have developed strong expectations around caption styling, and a subtitle file that works perfectly on YouTube can feel completely wrong on TikTok. Matching your caption style to each platform's viewing context is the final step before your video goes live.
Formatting rules by platform
Each platform has its own display environment and viewer behavior, which means your formatting decisions need to match where the video will actually be watched. YouTube viewers typically watch on larger screens with captions positioned at the bottom, so you can use longer line lengths up to around 42 characters per line before text wraps awkwardly. TikTok and Instagram Reels run on vertical mobile screens, which means shorter lines (under 30 characters) and larger font sizes read far more comfortably.
Keep each subtitle block to a maximum of two lines and one complete thought. A single overstuffed block loses viewers faster than a timing error does.
Use this reference when you set up caption styling across platforms:
| Platform | Max characters per line | Lines per block | Position |
|---|---|---|---|
| YouTube | 42 | 2 | Bottom center |
| 42 | 2 | Bottom center | |
| TikTok | 28 | 2 | Center screen |
| Instagram Reels | 28 | 2 | Center screen |
| 38 | 2 | Bottom center |
Burned-in caption styling
When you're creating burned-in captions for vertical video, font choice and contrast matter more than any other styling decision. Use a bold sans-serif font like Arial Bold or Montserrat Bold at a size between 55 and 65 points for 1080x1920 video. Add a solid black outline or drop shadow so your text stays readable over both light and dark backgrounds without needing to swap colors mid-project.
If your video includes a branded color scheme, apply it to the font fill rather than the outline. Keep the outline white or black to maintain contrast regardless of what appears in the frame behind the text.
Next steps
You now have everything you need to generate subtitles from video quickly and accurately. From choosing the right workflow to cleaning up timing errors and styling captions for each platform, the process breaks down into repeatable steps you can run on any video you publish.
Start with a single video on your next upload. Pick the correct export format for your target platform, spend five minutes fixing any transcript errors before you download the file, and burn in captions for TikTok and Reels separately. Once you've run through the process once, each subsequent video takes a fraction of the time.
If you're creating content at scale and want to connect subtitle generation to a broader content workflow, such as turning transcripts into scripts, repurposed posts, or ad hooks, AI Flow Chat gives you a visual workspace to pull transcripts from YouTube videos, TikToks, and Reels and feed them directly into your next piece of content without switching tools.
Continue Reading
Discover more insights and updates from our articles
Writing SEO content without a clear brief is like building a house without blueprints, you'll waste time, miss key details, and end up reworking most of it. A good content brief generator takes the gu...
Every manual task inside your CRM, updating a lead status, sending a follow-up email, assigning a case to the right rep, costs time you could spend on work that actually moves revenue. Salesforce work...
Most people use "content strategy" and "content marketing strategy" interchangeably. They're not the same thing. The difference between them isn't just semantics, it affects how yo...