Descript Video Transcription: How To Transcribe Videos Fast
At AI Flow Chat

Contents
0%Descript has become one of the go-to tools for turning video into text quickly, and for good reason. Descript video transcription uses AI to generate accurate transcripts from audio and video files in minutes, not hours. Whether you're repurposing a YouTube video, pulling quotes from a podcast, or building out content from a webinar recording, having a reliable transcription workflow saves you a massive amount of time.
But here's the thing, transcription is usually just step one. Once you have that text, you still need to turn it into social posts, blog content, ad scripts, or whatever else your content calendar demands. That's where a tool like AI Flow Chat comes in. You can feed transcribed video content directly into a visual AI workspace, reference it alongside other sources, and generate new content at scale without starting from a blank page every time.
In this guide, you'll get a clear walkthrough of how Descript's transcription works, what it costs, and step-by-step instructions to transcribe your videos fast. We'll also cover accuracy expectations, supported file types, and tips to get cleaner results. By the end, you'll know exactly how to extract usable text from any video and put it to work across your content pipeline.
What Descript video transcription does
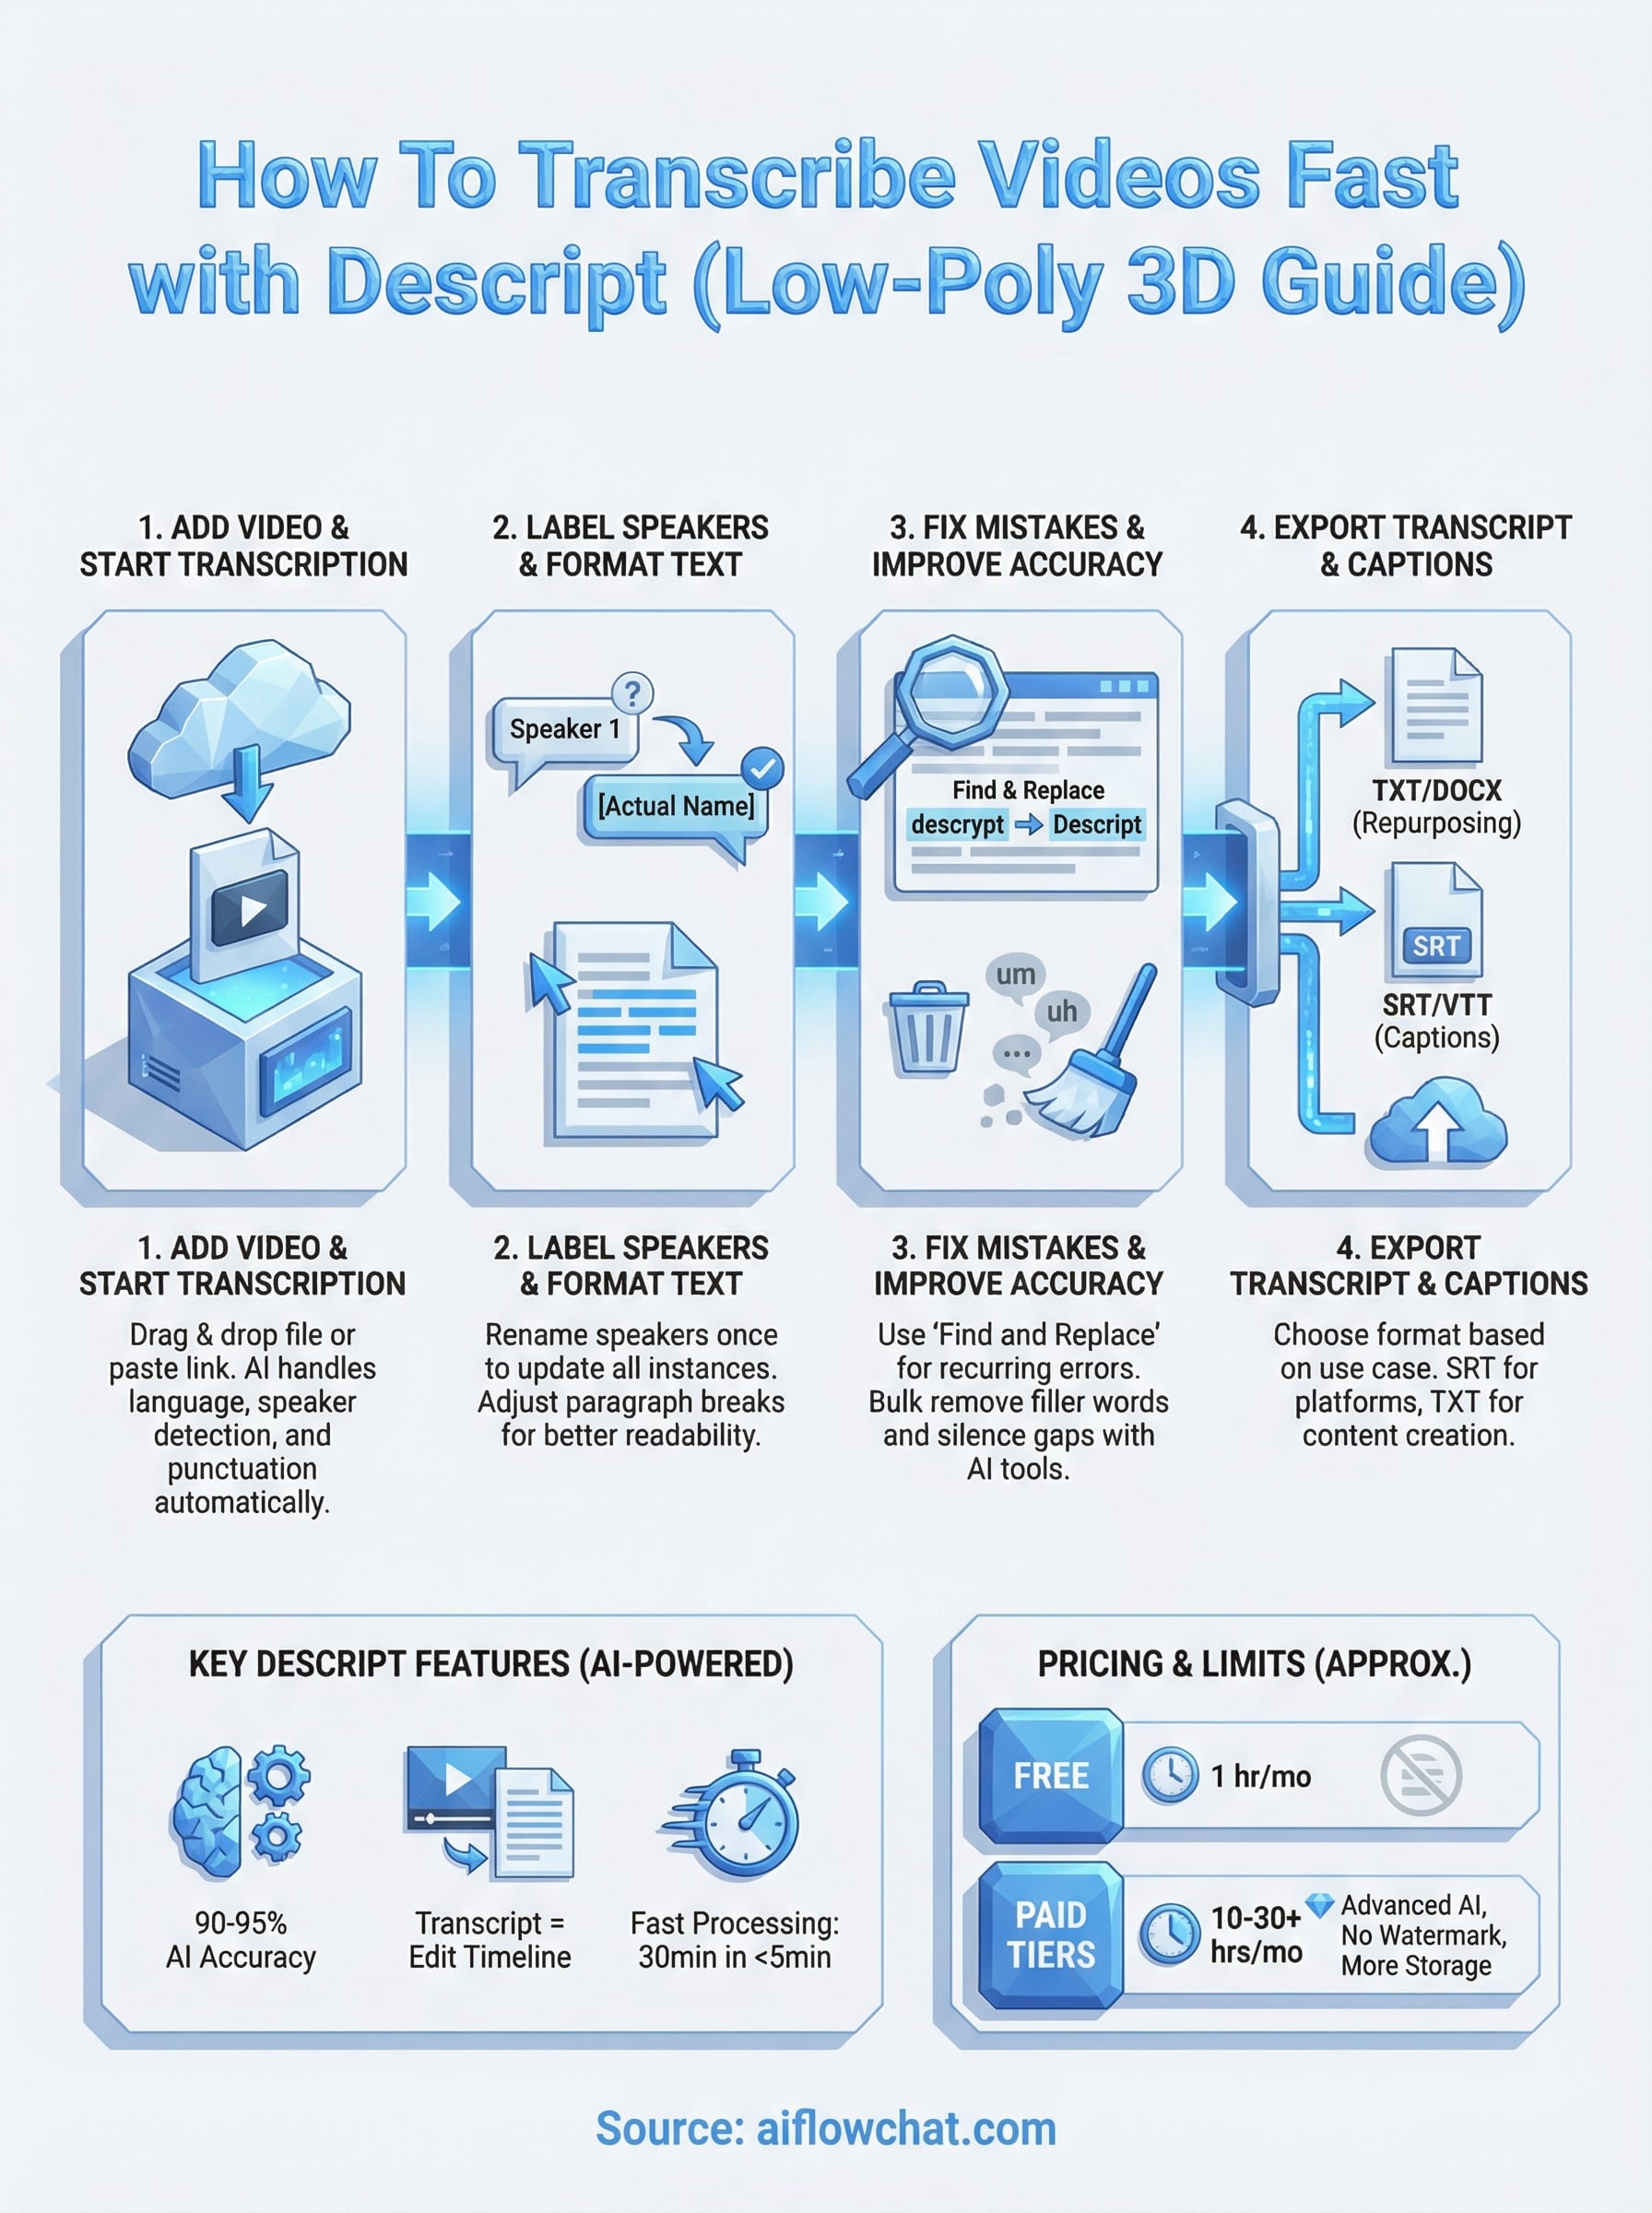
Descript video transcription converts the audio track from your video file into a text document that you can read, search, edit, and export. The AI engine processes your file by analyzing speech patterns and matching them against a model trained on a wide variety of accents, topics, and audio conditions. Transcription accuracy typically lands between 90% and 95% for clear audio with minimal background noise, which is solid enough for most content repurposing workflows without requiring a full manual review.
What makes Descript stand out from basic transcription apps is that the transcript becomes your edit timeline. You can delete words from the text document and the corresponding video clip disappears automatically. That tight connection between text and video means you're not just producing a reference document. You're producing an editable version of your video that stays synchronized at all times.
When you edit the transcript, you edit the video simultaneously, which cuts post-production time significantly for creators who work with long-form content.
How the AI transcription engine works
Descript uses a speech recognition model built on OpenAI's Whisper to analyze the audio track separated from your video file. The engine identifies individual words, assigns timestamps to each one, and produces a full word-level transcript that maps directly to your video timeline. This means every word has a corresponding start time and end time, which is what enables text-based video editing to work.
You don't need to configure anything to get the first transcript generated. Descript handles speaker detection, punctuation insertion, and paragraph breaks automatically, though all of these can be adjusted after the initial pass. The AI also identifies distinct speakers in multi-person recordings and labels them generically until you rename them manually.
Here's a quick look at what the engine detects and produces:
| Feature | What Descript delivers |
|---|---|
| Word-level timestamps | Yes, every word is timed |
| Speaker diarization | Automatic with manual override |
| Punctuation | AI-generated, fully editable |
| Filler word detection | Flags "um," "uh," and similar words |
| Low-confidence words | Highlighted for your review |
What you can do with the transcript inside Descript
Once your transcript is ready, Descript gives you several immediate options without leaving the platform. You can clean up the text, remove filler words in bulk, add chapter markers, generate captions, and download the full transcript as a plain text file, a Word document, or an SRT subtitle file. Each export format serves a different downstream use case, so you're not locked into one output type.
The transcript also feeds directly into Descript's built-in AI tools, including its Underlord assistant, which can remove silences, generate show notes, and flag clip-worthy moments from the full recording. For creators who need to push content across multiple formats fast, this matters because you get from raw recording to structured, usable text without bouncing between separate apps.
What you need before you transcribe a video
Before you dive into Descript video transcription, a few quick checks will save you from wasted uploads and frustrating results. Getting your file in the right format upfront is the single biggest lever you have over transcript accuracy. Poor audio quality, unsupported file types, or a missing account setup can all cause delays or force you to redo work that should have taken minutes.
Supported file formats and audio quality
Descript accepts a wide range of video and audio file types, so you likely won't need to convert anything before uploading. The platform supports MP4, MOV, AVI, MKV, MP3, WAV, M4A, and AAC, which covers the vast majority of files you'll record from a camera, phone, or screen recorder. If your file comes from a video conference tool like Zoom or Google Meet, it will almost certainly upload without any extra steps.
The closer your audio is to a single clear voice with minimal background noise, the fewer manual corrections you'll need to make after the AI generates the first pass.
Run through this checklist before you upload any file:
- File format: MP4, MOV, MP3, WAV, or another standard format
- Audio clarity: Minimal background noise, no heavy echo or reverb
- Speaker count: Know how many speakers are in the recording so you can label them quickly after transcription finishes
- File size: Keep files under 6 GB for smooth uploads on standard plans
- Language: Confirm your content is in a supported language, since English gets the strongest recognition accuracy on the platform
Account setup and plan requirements
You need a Descript account before you can upload anything, and the plan you're on determines how much transcription time you get each month. The free tier offers limited transcription hours, which fills up fast if you're working with long recordings or multiple files per week. Most active creators will need a paid plan to avoid hitting a cap mid-project.
Your storage allocation also matters before you start. Each uploaded video consumes space in your Descript project library, and free accounts carry a lower ceiling on total storage. If you plan to work with high-volume content or keep multiple project files active at once, picking the right paid tier from day one will prevent you from losing access to older projects unexpectedly.
Step 1. Add your video and start transcription
Getting your first descript video transcription started takes less than two minutes once your file is ready. The process follows a straightforward upload-and-process flow, and you don't need to configure any settings before the AI begins analyzing your audio track. Descript handles language detection, speaker separation, and punctuation automatically on the first pass, so your job at this stage is simply to get the file into a project and let the engine run.
Upload your file to a Descript project
Open Descript and create a new project by clicking the "New Project" button from your dashboard. Once the project workspace opens, you have two ways to bring in your video file. You can drag and drop the file directly into the project window, or click the upload button and browse your local storage. Both methods trigger the same transcription pipeline, so pick whichever fits your workflow.
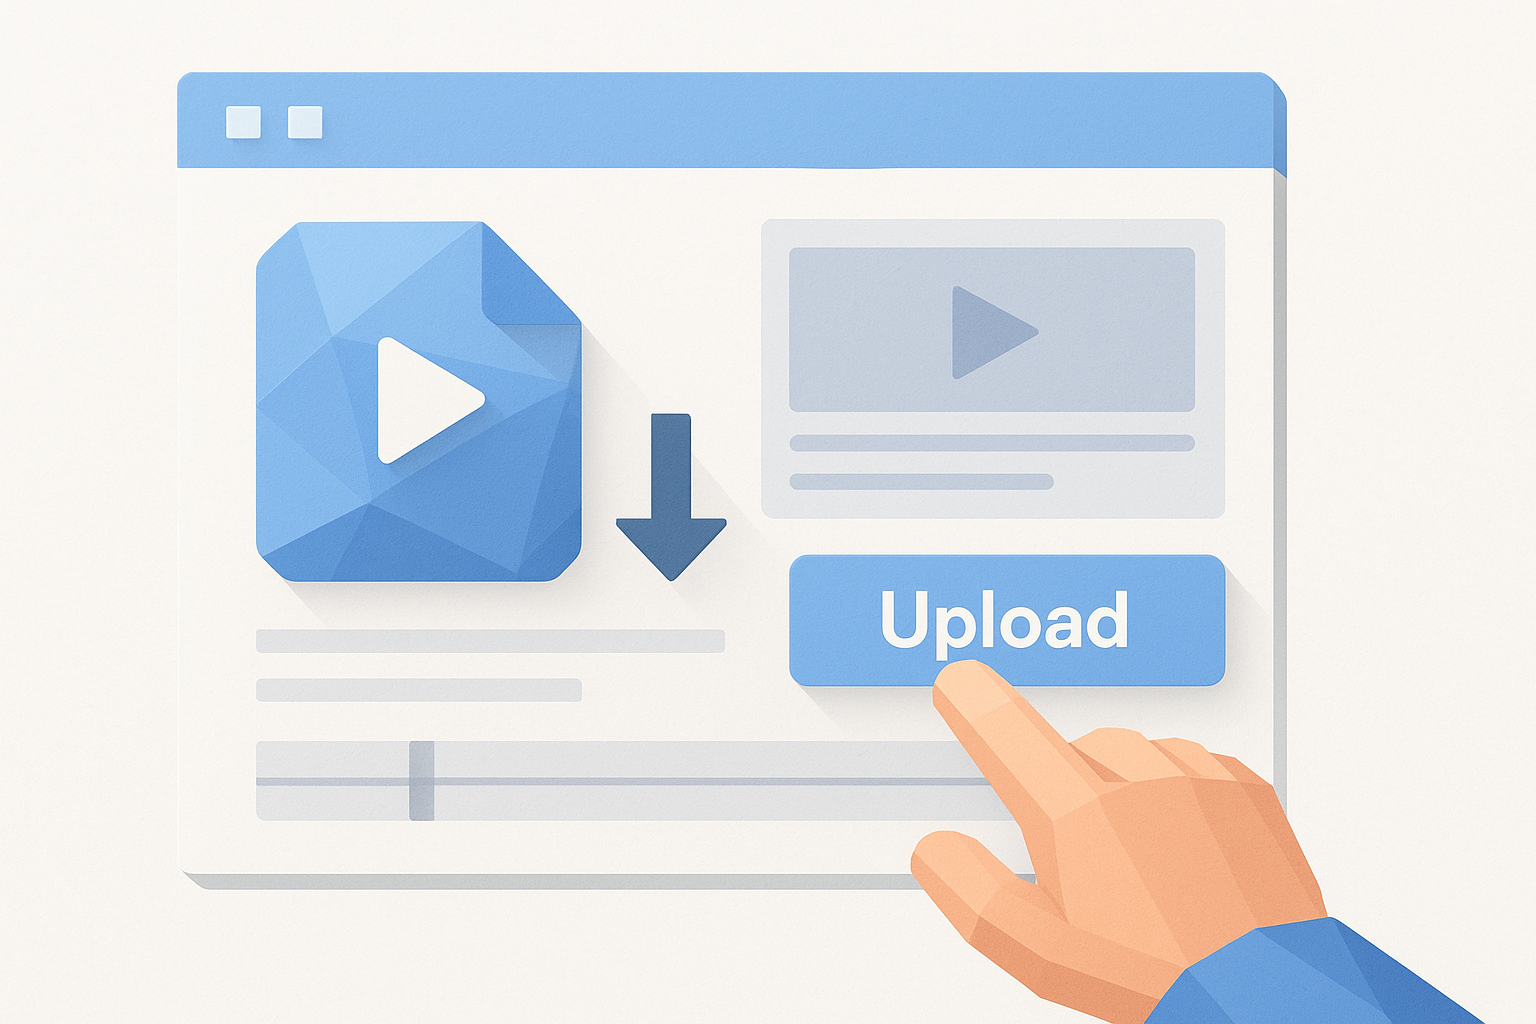
If you are working with a recording already hosted online, such as a Zoom cloud recording, you can paste the share link directly instead of downloading and re-uploading the file locally.
Follow these steps to complete the upload and start transcription:
- Click New Project from the Descript dashboard
- Drag your video file into the project canvas, or click Add Media to browse
- In the upload dialog, confirm the transcription language if prompted (defaults to English)
- Leave the speaker detection toggle enabled unless your file has only one speaker
- Click Start Transcription and wait for Descript to process the file
Processing time depends on file length. A 30-minute video typically finishes transcription in under five minutes on a stable connection, though longer files or heavy server load can push that to ten minutes.
Check the transcription status and initial output
Once the file uploads, Descript shows a progress indicator at the top of the project view while the AI processes your audio. You don't need to stay on the screen, the job runs in the background and you'll see a notification when it finishes. After processing completes, the transcript appears in the left panel of your workspace alongside the video timeline on the right.
Scan the first few paragraphs quickly to check whether the AI captured speaker breaks and punctuation correctly before moving on to labeling and cleanup. Catching major formatting issues early saves time in later steps.
Step 2. Label speakers and format the transcript
After your transcript loads, Descript labels each speaker generically as "Speaker 1," "Speaker 2," and so on. Cleaning up these labels and fixing the transcript's formatting is the step most people skip in a hurry, but it directly affects how readable your exported file is and how easily you can search for specific moments later. Taking five minutes here saves you significant confusion when you revisit the project or hand it off to someone else.
Rename speakers and assign names
Click on any speaker label inside the transcript panel and Descript highlights every line attributed to that speaker across the full recording. You'll see an option to rename the label, and once you type a new name and confirm, the change applies to every instance of that speaker throughout the entire transcript automatically. You don't need to scroll through and update each label manually.
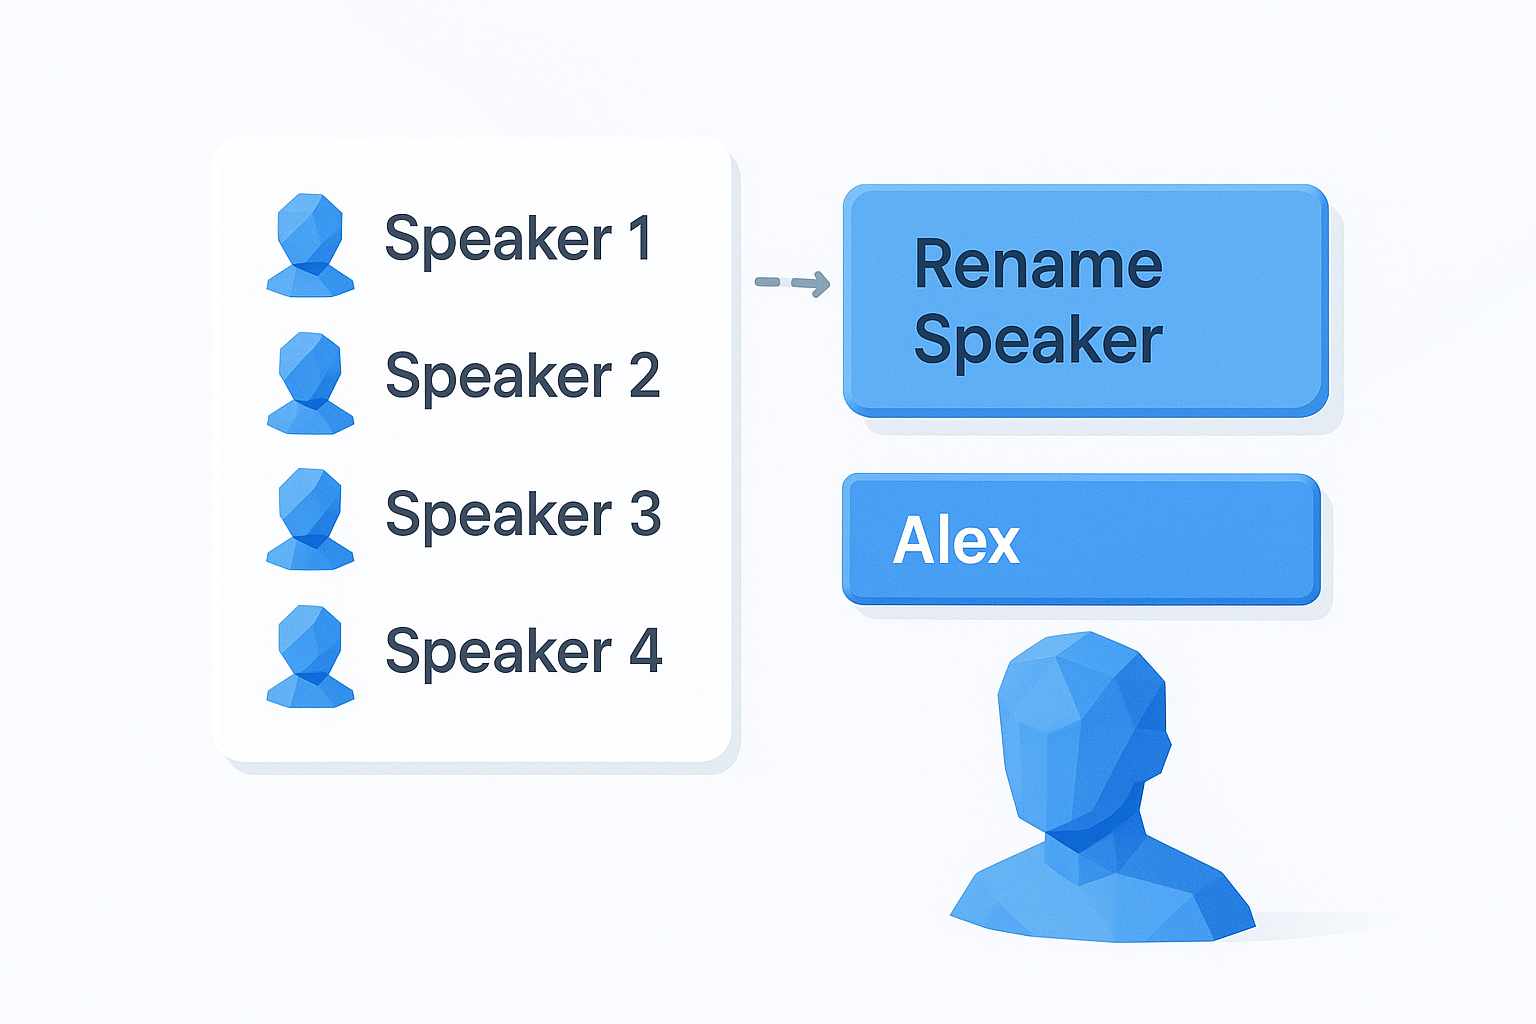
Renaming speakers immediately after transcription is especially important for descript video transcription projects with three or more participants, since generic labels become confusing fast.
Follow these steps to rename each speaker:
- Click any Speaker 1 label in the transcript panel
- Select Rename Speaker from the popup menu
- Type the speaker's actual name and press Enter
- Repeat for each additional speaker in the recording
- Verify that no lines are misattributed by scanning a few speaker transitions
Adjust paragraph breaks and formatting
Once your speakers are labeled, scan the transcript for paragraph breaks that fall in awkward spots. Descript inserts breaks based on pauses in speech, so some sections may run too long without a break while others get split mid-thought. You can click anywhere in the transcript and press Enter to add a new paragraph break, or delete an existing one by placing your cursor at the start of a line and pressing Backspace.
Fixing paragraph length matters most if you plan to export the transcript for blog content or captions, where wall-to-wall text creates a poor reading experience. Keep individual paragraphs tight, aim for no more than four to six sentences per block, and group lines by topic rather than by pause pattern. Short, scannable paragraphs make the exported text far easier to work with downstream, whether you are sending it to a client, dropping it into a doc, or feeding it into another tool for content repurposing.
Step 3. Fix mistakes and improve accuracy fast
Even with strong audio, your descript video transcription will contain errors. Technical terms, proper nouns, and industry-specific vocabulary are the most common places where the AI guesses wrong. Rather than reading every word from top to bottom, use a targeted approach to find and fix the highest-impact errors first, so you spend less time correcting and more time using the output.
The fastest way to clean a transcript is to fix recurring errors once using Find and Replace, rather than correcting each instance manually as you scroll.
Use Find and Replace to fix recurring errors
Descript includes a Find and Replace function that works exactly like the one you know from Google Docs or Microsoft Word. Press Ctrl + H on Windows or Cmd + H on Mac to open the panel. Type the incorrect word or phrase in the "Find" field, type the correct version in the "Replace" field, and click Replace All. Every instance updates in one action, which saves a significant amount of time on recordings where a name or term appears dozens of times.
Run through this correction sequence after your initial scan:
- Open Find and Replace with Ctrl + H or Cmd + H
- Enter the misspelled term in the Find field (for example, "descrypt" instead of "Descript")
- Enter the correct spelling in the Replace field
- Click Replace All to update every instance at once
- Repeat for each recurring error before moving on to filler word removal
Remove filler words and silence gaps in bulk
Filler words like "um," "uh," and "you know" clutter a transcript and make exported text harder to read or repurpose. Descript's Underlord panel includes a bulk filler word removal tool that scans your entire recording and highlights every detected filler. You can review the flagged words and remove all of them in one click, or deselect specific instances you want to keep.
Silence removal works the same way. Open the Underlord assistant, select "Remove Silences," and Descript identifies gaps between words that exceed a threshold you set in seconds. Cutting silences shortens the transcript, tightens the pacing, and produces a cleaner final document without any manual scrubbing through the timeline.
Step 4. Export your transcript, captions, and subtitles
Once your descript video transcription is clean and labeled, exporting the output takes under a minute. Descript gives you several file formats depending on what you plan to do with the transcript next, so picking the right format before you click export saves you the headache of converting files after the fact.
Choose your export format
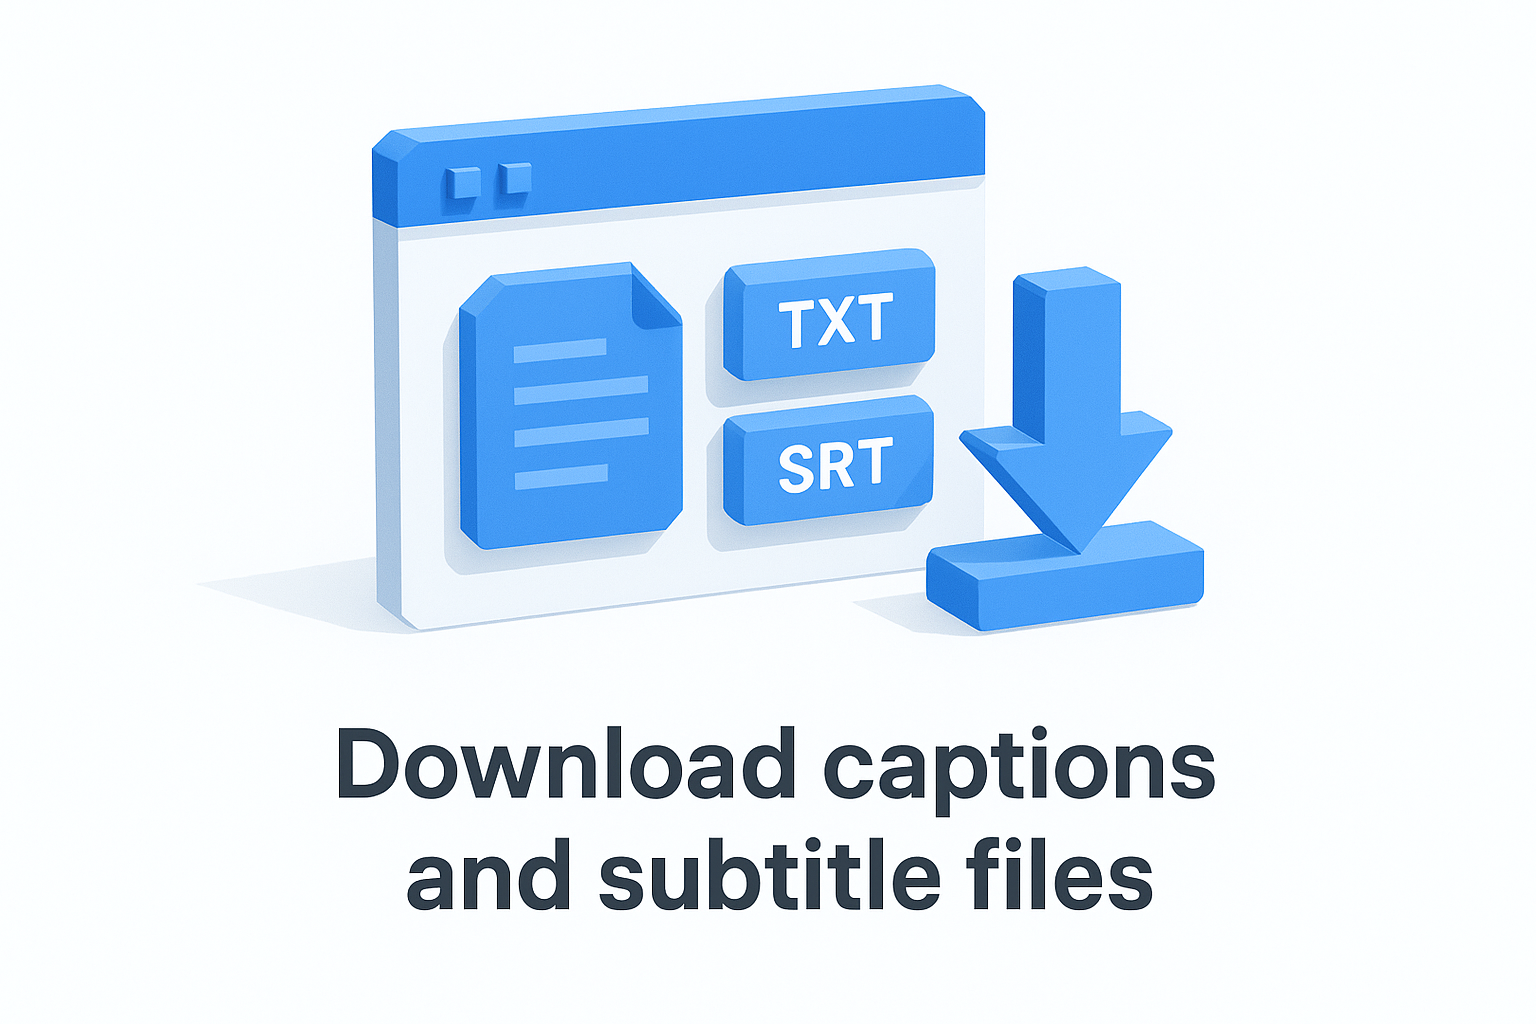
Descript supports multiple export types, and each one serves a different downstream purpose. Plain text and Word documents work best when you need the raw transcript for blog posts, newsletters, or feeding content into another tool. SRT and VTT files are caption formats that carry timestamp data alongside each line of text, which is what video platforms like YouTube and Vimeo require for subtitle uploads.
Exporting as SRT is almost always the right call if you plan to upload the video anywhere online, since you can still copy the raw text out of an SRT file if you need it.
Here is a quick breakdown of each format and when to use it:
| Export format | Best use case |
|---|---|
| TXT | Simple text repurposing, blog drafts, AI tool input |
| DOCX | Sharing with clients or editors who use Word |
| SRT | Uploading captions to YouTube, Vimeo, or LinkedIn |
| VTT | Web video players and HTML5 caption tracks |
| Final Cut Pro XML | Handing off to a video editor working in FCP |
Download captions and subtitle files
To export any format, open the File menu at the top of your Descript project and select "Export." The export panel gives you tabs for video, audio, and transcript. Click the Transcript tab to access all text-based output options including SRT, VTT, and plain text.
Follow these steps to complete your export:
- Click File in the top navigation bar
- Select Export from the dropdown menu
- Click the Transcript tab inside the export panel
- Choose your format: TXT, DOCX, SRT, or VTT
- Toggle Include speaker names on or off depending on your use case
- Click Export and save the file to your local storage
After downloading, your SRT file is ready to upload directly to any video platform that accepts captions. Your plain text file is ready to paste into a doc, a content tool, or an AI workspace for repurposing.
Pricing, limits, and what is free
Descript video transcription operates on a tiered plan structure where the amount of transcription time you get each month depends directly on which plan you pay for. Understanding the limits before you commit helps you avoid the frustrating situation of uploading a long recording and hitting a cap halfway through the month. Here is a breakdown of what each tier gives you so you can pick the right one for your volume.
What the free plan covers
The free plan gives you one hour of transcription per month, which is enough to test the workflow and get a feel for accuracy on your content type. You can upload files, generate a transcript, and export a plain text file without paying anything, but the export options are limited and some downloads include a Descript watermark. For occasional use or evaluation purposes, the free tier does the job.
If you work with recordings longer than 30 minutes or produce more than one or two pieces of content per week, the free tier will fill up fast.
Paid plans and transcription limits
Each paid tier unlocks more monthly transcription hours along with additional features like AI-powered tools, higher export quality, and expanded storage. The table below shows the core tiers and what they include as of early 2026, though you should confirm current pricing directly on Descript's website since plans update periodically.
| Plan | Monthly price | Transcription hours | Key additions |
|---|---|---|---|
| Free | $0 | 1 hour | Basic exports, watermark |
| Hobbyist | $24 | 10 hours | No watermark, full export formats |
| Creator | $40 | 30 hours | Underlord AI tools, advanced export |
| Business | $80 | Unlimited | Team features, priority support |
Prices reflect per-seat billing, so if you run a small team, factor in the number of seats before choosing a tier. Annual billing cuts each price by roughly 20% compared to monthly, which adds up quickly if you plan to use Descript as a core part of your workflow.
Storage and file size limits
Beyond transcription hours, each plan also caps your total storage for project files and media. The free tier sits at around 1 GB of total storage, while paid plans scale significantly higher. File size per upload is capped at 6 GB across all plans, which covers most standard recordings. If you regularly work with raw 4K footage or multi-hour recordings, monitor your project library size and archive completed projects to keep storage usage under control.
Wrap-up and next steps
You now have everything you need to run a complete descript video transcription from upload to export. The workflow covers uploading your file, labeling speakers, fixing errors with Find and Replace, and downloading the right format for your use case. Each step builds on the last, and once you run through it a few times, the whole process takes minutes rather than hours.
The real leverage comes from what you do with the transcript after you export it. Raw transcribed text becomes significantly more useful when you feed it into a tool built for content repurposing. AI Flow Chat lets you drop your transcript alongside other reference materials, like competitor ads or viral videos, and generate new content across formats without starting from scratch. If you want to turn your transcripts into a repeatable content engine, start building workflows in AI Flow Chat and see how far a single recording can go.
Continue Reading
Discover more insights and updates from our articles
Writing SEO content without a clear brief is like building a house without blueprints, you'll waste time, miss key details, and end up reworking most of it. A good content brief generator takes the gu...
Every manual task inside your CRM, updating a lead status, sending a follow-up email, assigning a case to the right rep, costs time you could spend on work that actually moves revenue. Salesforce work...
Most people use "content strategy" and "content marketing strategy" interchangeably. They're not the same thing. The difference between them isn't just semantics, it affects how yo...