Canva Content Planner: How To Plan And Schedule Posts
At AI Flow Chat
Contents
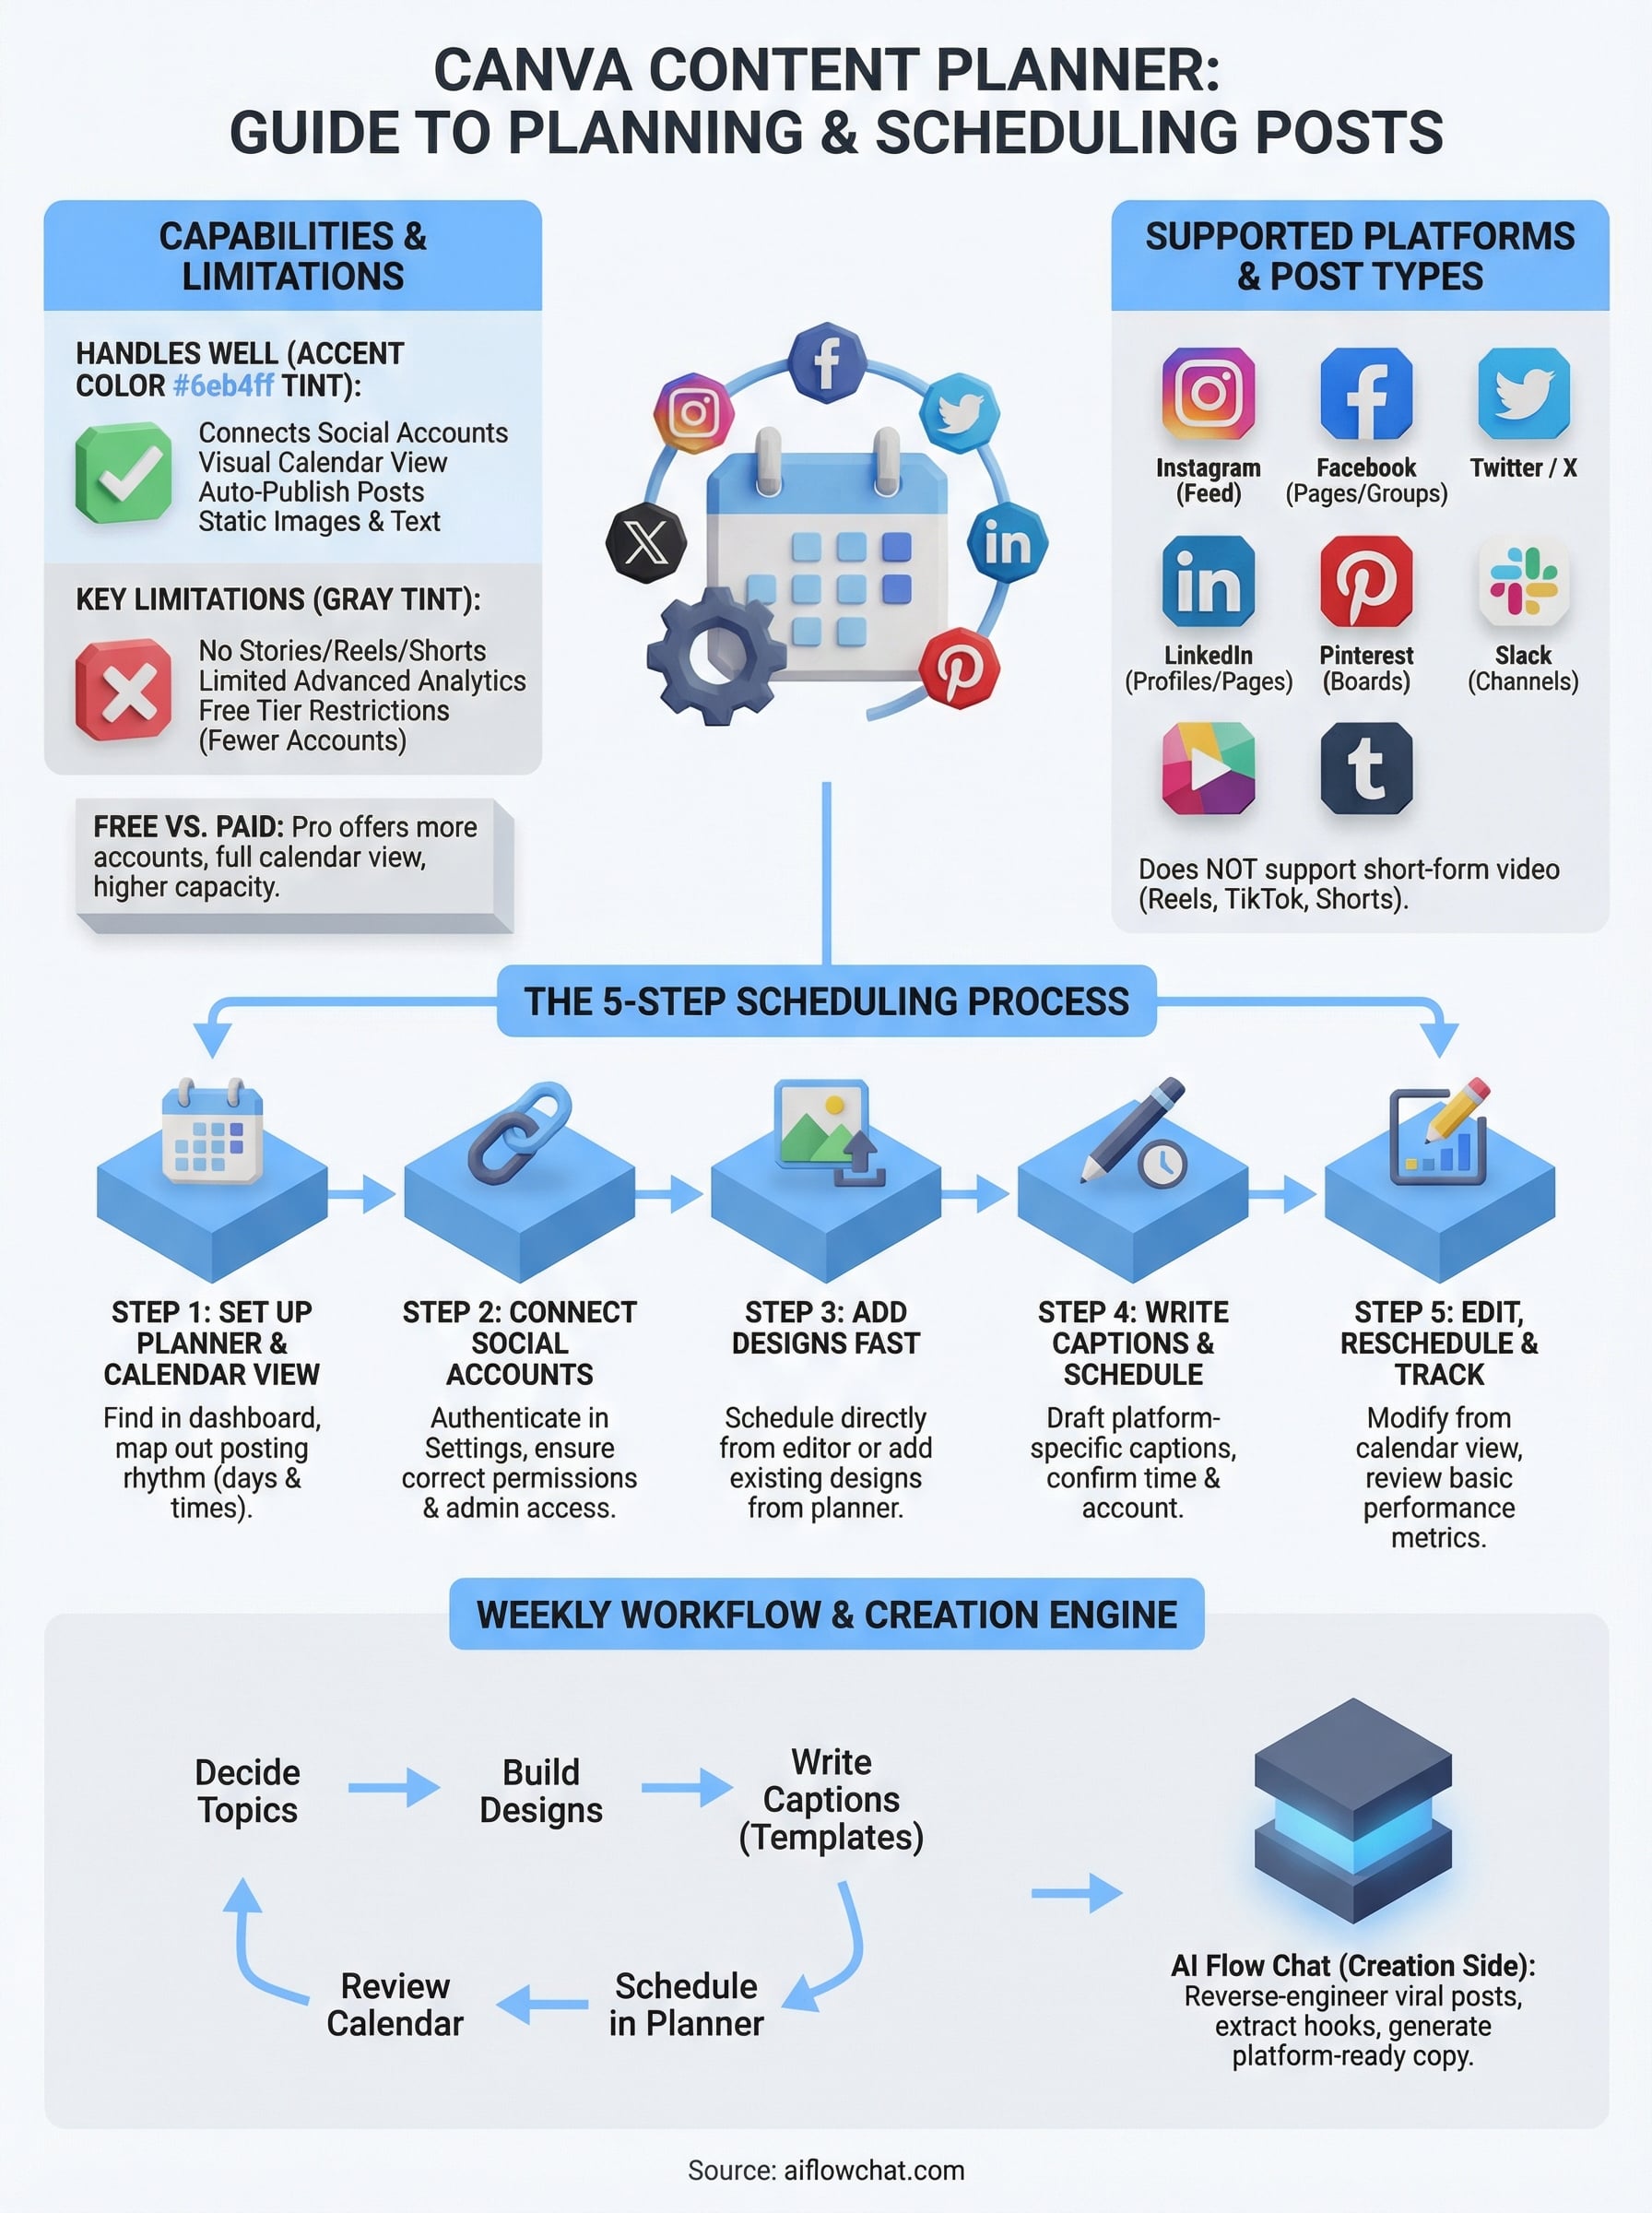
0%The Canva content planner lets you schedule social media posts directly from the same tool you use to design them. No extra apps, no copy-pasting between platforms. For creators and marketers juggling multiple channels, that's a genuine time-saver, but it does come with limitations worth knowing about before you build your entire workflow around it.
This guide walks you through exactly how to set up and use Canva's built-in scheduling feature, from connecting your social accounts to publishing your first post. You'll also get a clear look at what the planner handles well, what it doesn't, and where its free vs. paid tiers draw the line.
But planning and scheduling is only half the equation. The other half, actually creating the content that fills your calendar, is where most people hit a wall. That's the problem we built AI Flow Chat to solve. Our platform lets you reverse-engineer viral posts, extract hooks from competitor content, and generate platform-ready copy across channels using a visual AI workspace. So while Canva handles the design-and-schedule side, AI Flow Chat handles the strategy-and-creation side that feeds into it.
By the end of this article, you'll know how to use Canva's content planner effectively and where it fits inside a larger, more efficient content production workflow.
What Canva Content Planner is and what you can schedule
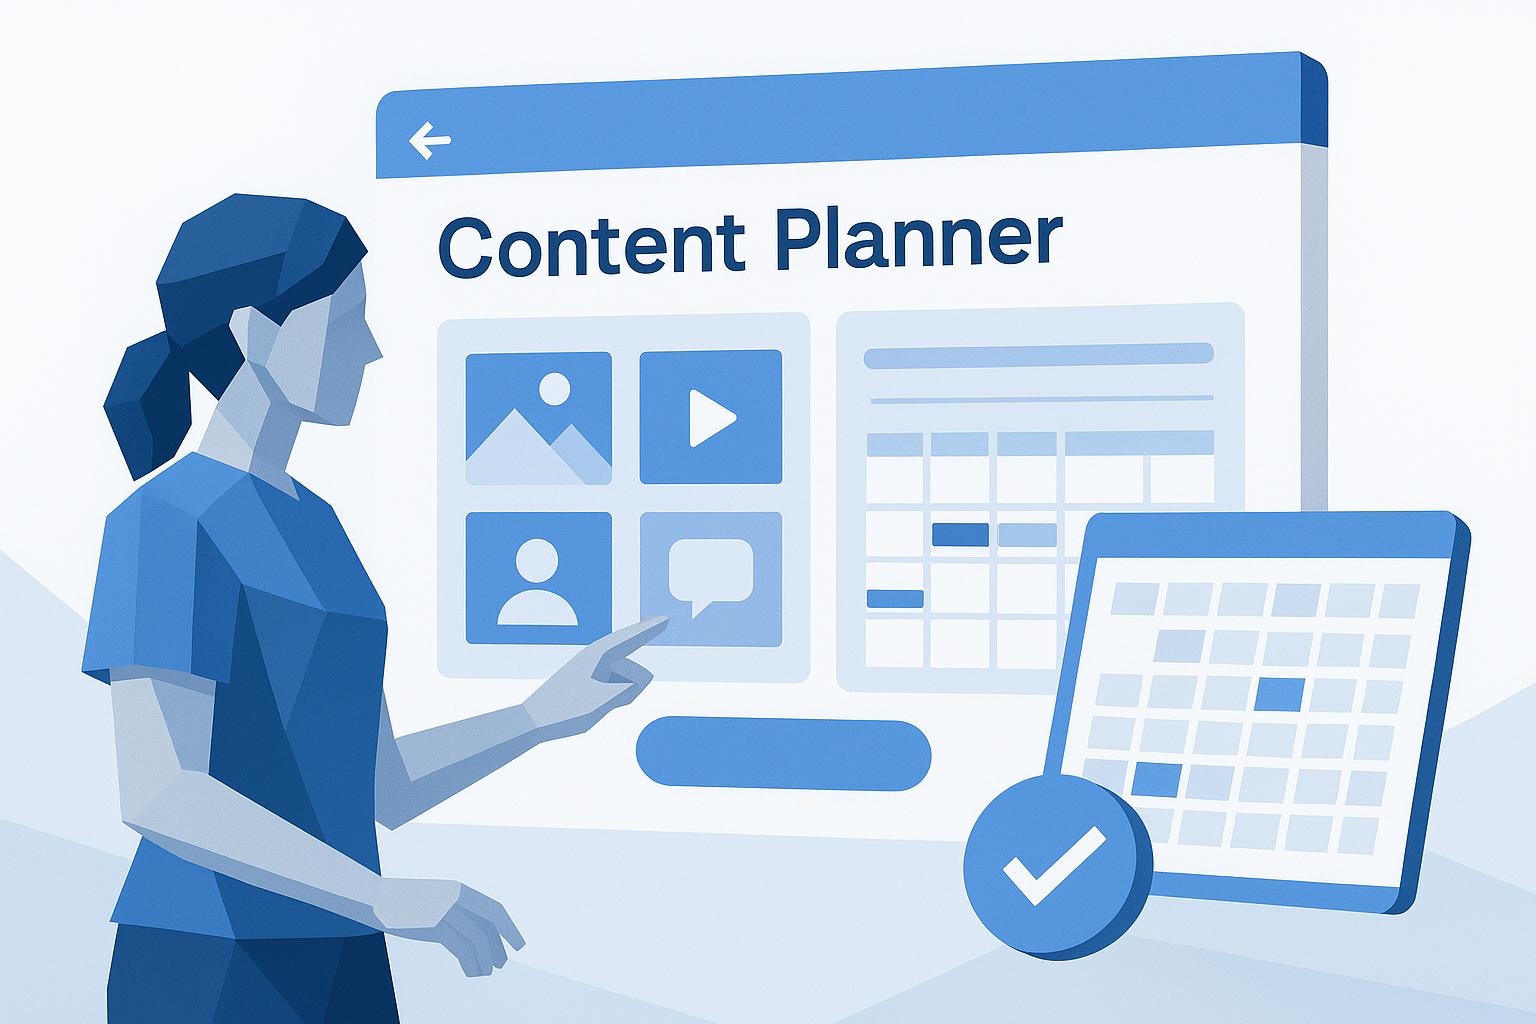
The Canva content planner is a built-in scheduling feature that lets you publish social media posts directly from your Canva workspace without switching platforms. Instead of downloading your design, uploading it to a separate scheduling tool, writing your caption there, and then setting a publish time, you handle all of that from one place. It lives inside your Canva account under the Content Planner tab, and it displays your upcoming posts on a calendar view so you can see exactly what goes out on any given day.
What the planner actually does
At its core, Canva's scheduler connects your social media accounts to your design workspace. Once connected, you take any design you've built in Canva, attach a caption, pick a publish date and time, and send it to your chosen platforms automatically. The system handles publishing on your behalf, meaning you do not need to be online when the post goes live. This is a real workflow improvement for anyone who already designs in Canva and wants to eliminate the extra handoff between creation and scheduling.
Canva's content planner is most useful when your design workflow already lives in Canva, because the value is in removing the handoff between design and scheduling, not in replacing a dedicated social media management tool.
Canva also gives you a visual calendar inside the planner where each scheduled post appears as a thumbnail on its publish date. You can click any scheduled item to review the design, edit the caption, or move it to a different time slot. This makes it easy to spot gaps in your posting schedule or catch a mistake before it goes out.
Platforms and post types you can schedule
Knowing which platforms the tool supports before you build your workflow around it will save you a headache later. As of early 2026, Canva supports scheduling to the following platforms:
- Instagram (personal and business profiles, feed posts only)
- Facebook (pages and groups)
- Twitter / X
- LinkedIn (personal profiles and company pages)
- Pinterest (boards)
- Slack (channels)
- Tumblr
One major limitation worth calling out: stories, reels, and short-form video formats are not schedulable through Canva's built-in planner on most of these platforms. If your content strategy depends heavily on Instagram Reels, TikTok, or YouTube Shorts, you will need a separate tool to cover those formats. Canva's planner is strongest for static image posts and text-based content, and that narrower scope is important to understand before you rely on it as your primary scheduling system.
Free vs. paid: where the line sits
Your access to the scheduling features depends entirely on your Canva plan tier. Free users can schedule posts, but they face limits on how many social accounts they can connect and how many posts they can queue at once. Canva Pro and Canva for Teams users get expanded scheduling capacity, more account slots, and the full content calendar view with post thumbnails.
Here is a practical breakdown of the key differences:
| Feature | Canva Free | Canva Pro |
|---|---|---|
| Social accounts connected | Limited slots | Up to 8 accounts |
| Scheduled posts at once | Restricted | Higher capacity |
| Calendar view | Basic | Full calendar with thumbnails |
| Auto-publish | Yes | Yes |
For solo creators posting to one or two accounts, the free tier is workable. However, if you manage content across multiple brand accounts, client profiles, or several platforms simultaneously, you will hit the ceiling fast. Canva Pro costs around $15 per month, which is reasonable if the platform supports every channel your strategy needs, but less justifiable if you still need a second tool to cover video formats and additional platforms.
Step 1. Set up your planner and calendar view
Before you can schedule anything, you need to know where the content planner lives inside Canva and how to configure the calendar view so it actually reflects your posting rhythm. This step is fast, and once you do it once, the setup carries over every time you log in.
Find the content planner in your dashboard
Log into your Canva account and look at the left sidebar on your home screen. You will see a section labeled "Content Planner" in the navigation. Click it. If you are on the Canva Pro plan, you will land on a full calendar view that shows the current month. Free plan users see a more limited version, but the core scheduling functions are still accessible from the same location.
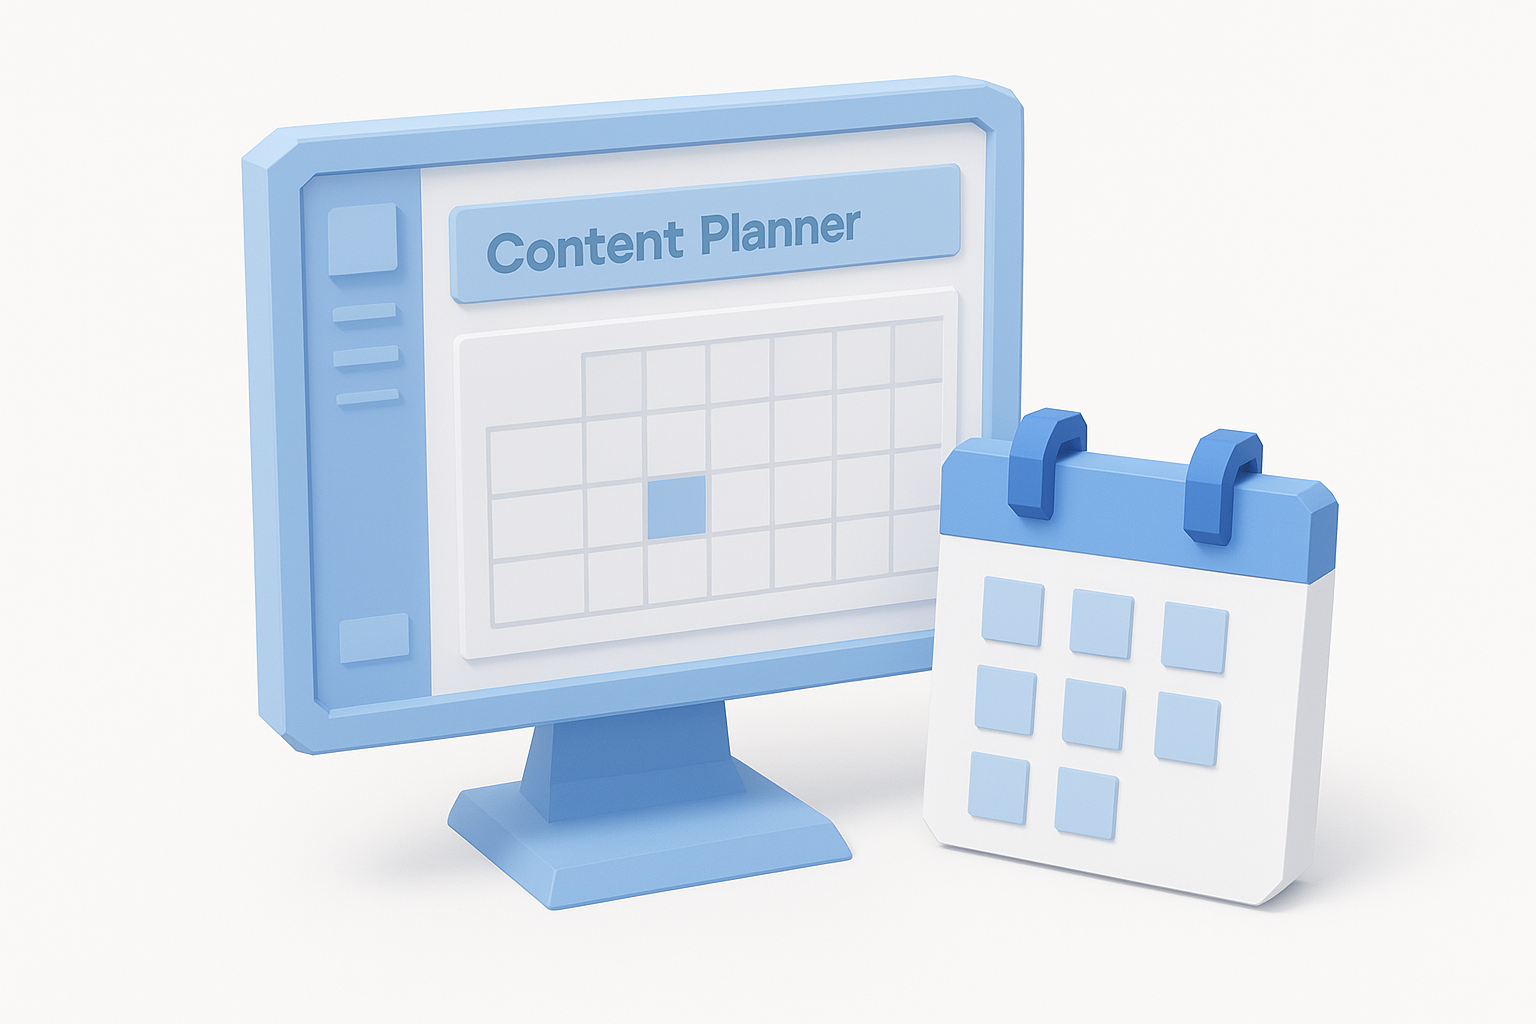
Once you are inside the planner, the interface works like a simple monthly calendar. Each day is a clickable cell, and any content you have already scheduled shows up as a thumbnail on its publish date. If you are starting fresh, the calendar will be empty, which is exactly where you want to be before you start filling it with a plan rather than guessing at random dates.
Treat the calendar view as your source of truth for what goes out and when. A visible schedule keeps you from over-posting on some days and going dark on others.
Configure your calendar to match your posting rhythm
Taking two minutes to map out your posting defaults before you start adding content to the calendar will save you a lot of reactive scrambling later in the week. Canva does not include a built-in posting frequency setting, so you establish your rhythm manually by deciding which days and time slots you will consistently target across platforms. A simple framework to start from looks like this:
| Day | Platform | Content Type | Time Slot |
|---|---|---|---|
| Monday | Educational post | 8:00 AM | |
| Wednesday | Graphic or carousel | 12:00 PM | |
| Friday | Promotional post | 10:00 AM |
Fill in this table based on your own platform priorities and the times your audience tends to be most active. Once you have a structure like this mapped out, it becomes the repeating template that guides what you add to the Canva content planner each week. The calendar view makes it easy to spot gaps in your schedule before you reach the end of the week and realize you missed three posting days in a row.
Step 2. Connect your social accounts the right way
Connecting your social accounts is the step where most users run into friction. Canva's account authentication process requires specific permissions on each platform, and if you skip a permission or authenticate the wrong account, your scheduled posts either fail silently or land on the wrong profile. Taking a few minutes to connect accounts correctly from the start prevents a lot of frustrating troubleshooting later.
Where to find account connections in Canva
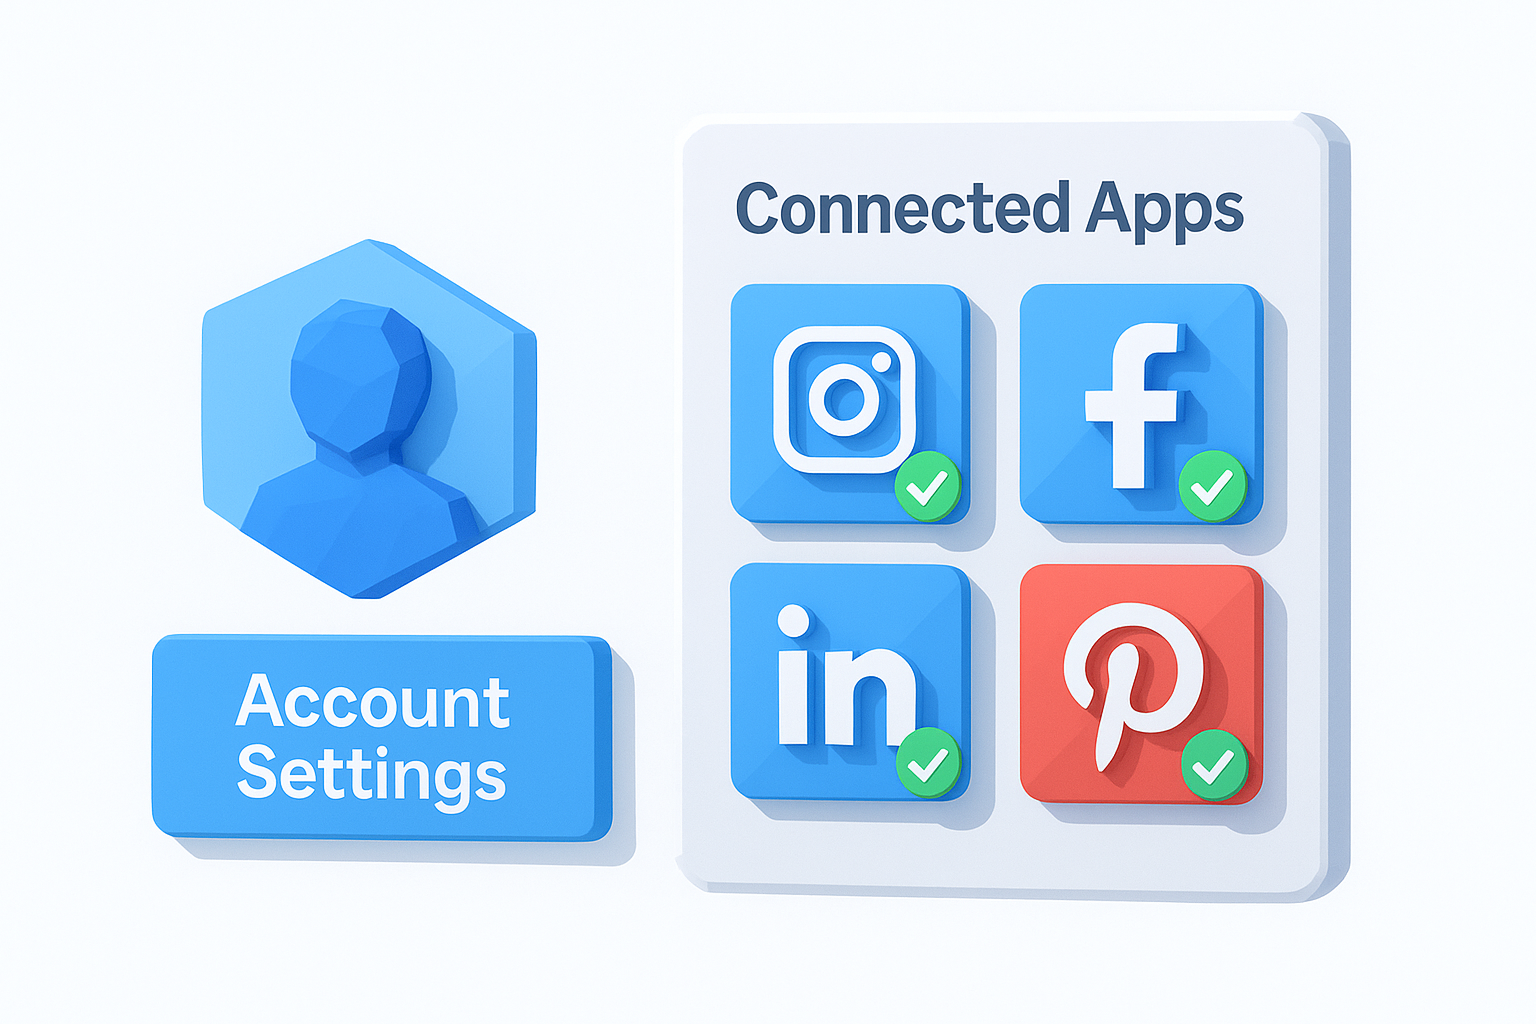
Inside your Canva account, click on your profile icon in the top right corner and go to Account Settings. From there, select "Connected Apps" in the left menu. This is where Canva stores all your linked social profiles, and it is also where you can disconnect and re-authenticate accounts if something stops working. Alternatively, when you schedule your first post, Canva prompts you to connect an account inline during the scheduling flow.
Each platform you connect requires you to log in and grant Canva permission to publish on your behalf. Here is a quick reference for what each platform connection covers:
| Platform | Account Type Supported | Permission Required |
|---|---|---|
| Business and Creator profiles only | Facebook Business login | |
| Pages and Groups | Admin access to the page | |
| Personal profiles and Company pages | Standard LinkedIn OAuth | |
| Personal and Business boards | Standard Pinterest login | |
| Twitter / X | Personal accounts | Twitter OAuth |
Instagram personal profiles cannot be connected directly. You must convert your Instagram account to a Business or Creator profile and link it through a Facebook Business account before Canva can publish to it.
What to check before you authenticate
Before you click through the authentication prompts, confirm two things. First, make sure you are logged into the correct account in your browser for each platform. If you are logged into a personal Instagram account but want to connect a brand profile, you will end up linking the wrong one. Second, verify that you have admin-level access to any Facebook page or LinkedIn company page you plan to schedule to. Canva cannot publish to a page where you only hold editor or analyst roles.
Once you have authenticated each account, return to "Connected Apps" and confirm every profile shows a green connected status. If any profile shows an error or expired token, disconnect it, log back into that platform in your browser, and reconnect it through the Canva content planner settings. Expired tokens are the single most common reason scheduled posts fail to publish.
Step 3. Add designs to your calendar fast
Once your social accounts are connected, the next step is getting your finished designs onto the calendar without burning time on repetitive manual steps. Canva gives you two ways to do this: you can schedule directly from inside the design editor while you are still working on a piece, or you can add existing designs to the Canva content planner calendar from the planner view itself. Both paths work, but knowing which one to use in which situation speeds up your entire scheduling process.
Schedule a design directly from the editor
The fastest route is to schedule a post the moment you finish building it. You do not need to leave the editor or navigate back to the planner to do it. Once your design is ready, follow these steps:
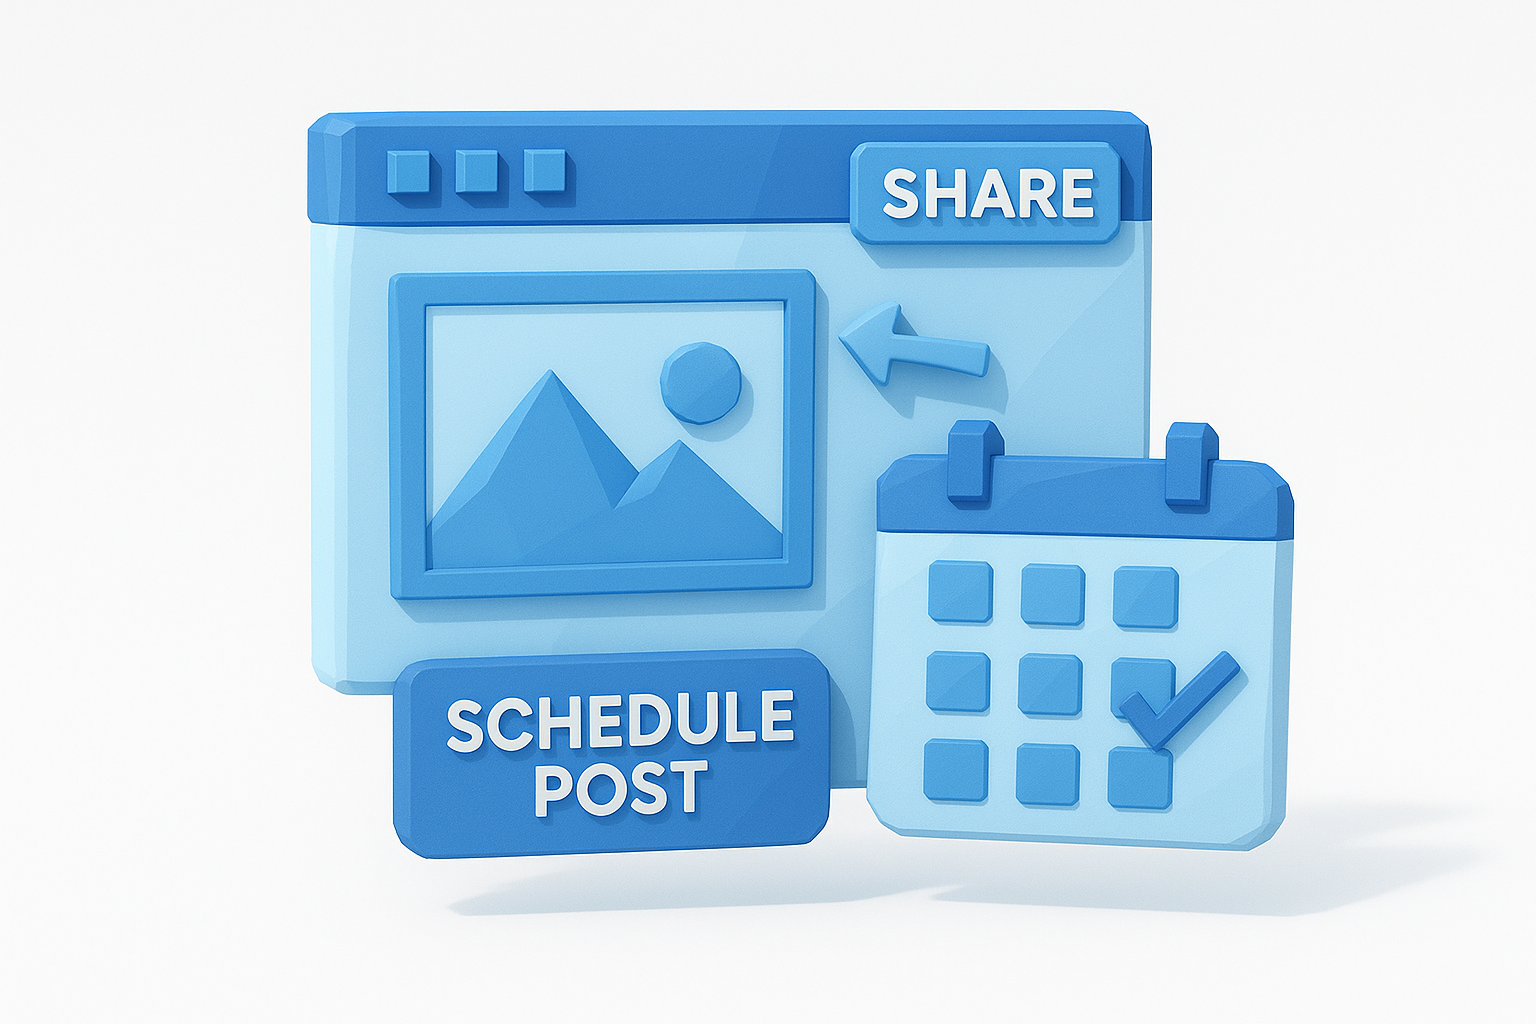
- Click the Share button in the top right corner of the Canva editor.
- Select "Schedule" from the dropdown options that appear.
- Choose the date and time you want the post to publish.
- Select the connected social account and platform you are targeting.
- Click Schedule Post to confirm.
Canva immediately adds the design to your calendar at the time you selected. If you have already mapped out your posting rhythm from Step 1, you are simply filling in the time slots you already planned rather than making decisions on the fly.
Scheduling directly from the editor is the fastest method when you are working through a batch of designs in a single session, because you set the time and platform before you close each file.
Add existing designs from the planner view
If you have a library of older designs you want to repurpose or a batch of content you created earlier, you can add them to your calendar from inside the planner without reopening each file individually. Go to the Content Planner, click on an empty day on the calendar, and select "Schedule a Post." Canva opens a search panel that pulls from your design library. Find the piece you want, select it, and then assign a publish time, platform, and caption.
This method works well at the start of each week when you want to fill out your upcoming schedule in one sitting. You can move through several designs quickly, assign them to different days and channels, and close the planner with a full week already locked in. The calendar thumbnail view lets you confirm nothing overlaps or looks out of place before the posts go live.
Step 4. Write captions, choose channels, and schedule
With your design sitting in the Canva content planner, the next task is writing your caption, selecting the right platform, and locking in your publish time. This is the step where most people rush and end up posting the same generic caption across every channel, which hurts engagement because each platform has different norms, character limits, and audience expectations. Taking an extra three minutes here pays off every time.
Write captions that fit each platform
Each platform you post to has a different relationship with text. LinkedIn audiences respond to posts that lead with a concrete insight and build from there, while Instagram captions can be shorter and more direct because the visual does most of the work. Facebook posts with mid-length captions that include a clear question at the end tend to drive more comment activity. Rather than writing one caption and pasting it everywhere, use the template below as a starting point and adapt it per channel.
Writing platform-specific captions takes more time upfront, but it consistently outperforms copying the same text to every account.
Use this as your caption drafting template for each post:
Platform: [Instagram / LinkedIn / Facebook / Twitter / Pinterest]
Hook (first line): [What stops the scroll or opens a loop]
Body (1-3 lines): [Core value, context, or story]
CTA (final line): [One clear action: save, comment, click, follow]
Character count: [Check against platform limit]
Keep Twitter/X under 280 characters. LinkedIn captions can run longer, up to around 700 characters, before the "see more" cut-off hides the rest. Instagram works best when your first line is strong enough to stand alone if someone never taps to expand.
Choose the right channel and confirm your timing
After writing your caption, Canva asks you to select the connected social account you want to publish to. If you manage multiple accounts on the same platform, for example two different Instagram business profiles, double-check that you have selected the correct one before moving forward. Selecting the wrong account here is a mistake that is easy to make and annoying to fix after the post goes live.
Set your publish time based on the posting rhythm you mapped out in Step 1. If you are scheduling a LinkedIn post, 8:00 AM on a weekday typically outperforms afternoon slots for professional audiences. Once you confirm the account, the caption, and the time, click Schedule Post to finalize it. The design will appear on your calendar immediately as a thumbnail on the date you selected.
Step 5. Edit, reschedule, and track performance
Scheduling a post does not lock it in permanently. The Canva content planner gives you full control to revisit, adjust, and move any post before it goes live. Understanding how to use the edit and reschedule functions correctly means you can react to last-minute changes, campaign shifts, or a simple typo in your caption without starting over from scratch.
How to edit or reschedule a post
Canva makes it straightforward to make changes to any scheduled post directly from the calendar view. Click on the thumbnail of the scheduled post on the date it is set to publish, and a panel will open on the right side of your screen showing the design preview, caption, platform, and scheduled time. From there, you can modify any of those elements before the post goes live.
Follow these steps to edit or move a scheduled post:
- Open Content Planner from your left sidebar.
- Locate the post thumbnail on its scheduled date.
- Click the thumbnail to open the post details panel.
- Select "Edit" to update the caption, change the connected account, or adjust the publish time.
- To reschedule, change the date and time in the scheduling field and confirm your update.
- Click "Save" to apply your changes.
If you need to cancel a post entirely, click the three-dot menu on the post thumbnail and select "Delete Scheduled Post." Canva will not publish it, and the design stays in your library for future use.
What Canva's analytics actually show you
Once a post publishes, Canva displays basic performance data inside the content planner for connected accounts. You can see metrics like impressions, reach, and engagement directly attached to each published post. Click any past post in your calendar to pull up the numbers Canva has pulled from the platform's native data.
It is important to set the right expectations here. Canva's built-in analytics are lightweight compared to a dedicated social media management tool. You get enough data to identify which posts drove higher engagement and which ones underperformed, but you do not get deep breakdowns by audience segment, time-of-day performance curves, or follower growth trends. Use what Canva shows you to make quick adjustments to your posting rhythm, then rely on each platform's native analytics dashboard for a more detailed look. Reviewing your numbers weekly keeps your scheduling decisions grounded in actual performance rather than guesswork.
Simple templates and posting workflows to copy
Most people waste time reinventing their scheduling process every week instead of following a repeatable system. The fastest way to get consistent with the Canva content planner is to lock in a weekly workflow you can run on autopilot and a set of caption templates you can fill in rather than write from scratch every time.
A weekly posting workflow you can follow
Run this workflow once a week, ideally on Sunday or Monday morning, to keep your calendar full without scrambling mid-week. Each step feeds directly into the next, so you never have to context-switch between designing, writing, and scheduling.
| Step | Task | Time Estimate |
|---|---|---|
| 1 | Decide on 3-5 topics for the week based on your content goals | 10 min |
| 2 | Build or pull existing designs in Canva for each topic | 20-30 min |
| 3 | Write platform-specific captions using the templates below | 15 min |
| 4 | Open Content Planner and assign each design to a day and time slot | 10 min |
| 5 | Review the calendar view to confirm no gaps or overlaps | 5 min |
Running this workflow once a week instead of scheduling posts one at a time reduces the total time you spend on distribution by roughly half over the course of a month.
This process works because it separates creation from scheduling into two distinct phases. You are not making decisions about topics and captions at the same time you are dragging thumbnails onto a calendar.
Caption templates for three platforms
Use these templates as starting structures you fill in for each post. Swap out the bracketed text with your specific content. Keep the format intact and the captions will be platform-appropriate without extra editing.
LinkedIn:
[Lead with one concrete insight or surprising fact]
[Expand with 2-3 sentences of context or personal observation]
[End with a question that invites a comment]
Instagram:
[First line hook: bold claim or open loop]
[1-2 lines of supporting detail or value]
[CTA: save, comment with a word, or follow for more]
Facebook:
[Conversational opener that references a shared pain or situation]
[2-3 lines of value, story, or useful tip]
[Question to drive comments: "Have you tried this? What worked for you?"]
Fill these templates during Step 3 of your weekly workflow before you open the Canva planner. When captions are already written before you start scheduling, the entire session moves faster and you are far less likely to post something generic or inconsistent across your accounts.
Wrap-up and next steps
The Canva content planner works best when you treat it as a scheduling layer on top of a clear content strategy, not a replacement for one. You now know how to set up the calendar, connect your accounts correctly, add designs, write platform-specific captions, and review performance data after posts go live. The weekly workflow and caption templates give you a repeatable system you can run without reinventing anything each week.
Where most creators stall is on the content creation side that feeds into the planner. Designing posts and filling a calendar is straightforward once you know what to post, but building that source material from scratch takes significant time. That is exactly what AI Flow Chat solves. You can reverse-engineer viral content, extract hooks from competitor posts, and generate platform-ready copy in a visual workspace, then drop the finished output directly into your Canva scheduling workflow. Start there and your calendar fills faster with content that is actually built to perform.
Continue Reading
Discover more insights and updates from our articles
Writing SEO content without a clear brief is like building a house without blueprints, you'll waste time, miss key details, and end up reworking most of it. A good content brief generator takes the gu...
Every manual task inside your CRM, updating a lead status, sending a follow-up email, assigning a case to the right rep, costs time you could spend on work that actually moves revenue. Salesforce work...
Most people use "content strategy" and "content marketing strategy" interchangeably. They're not the same thing. The difference between them isn't just semantics, it affects how yo...