Zapier Workflow Automation: Step-by-Step Setup + Examples
At AI Flow Chat
Contents
0%Copying data between apps, sending follow-up emails by hand, updating spreadsheets row by row, these tasks eat hours every week. Zapier workflow automation solves this by connecting your apps and letting triggers handle the busywork for you. If you've heard the name but haven't built your first Zap yet (or you tried and got stuck), this guide walks you through the entire setup process with real examples you can steal.
Zapier shines for straightforward app-to-app connections: when X happens, do Y. But once your workflows involve pulling context from multiple sources, viral videos, competitor ads, long documents, and generating content from that context, you'll hit Zapier's ceiling fast. That's exactly the gap AI Flow Chat fills. Our visual AI canvas lets you drag in references from YouTube, TikTok, PDFs, and websites, then build repeatable AI flowcharts that turn research into finished content without juggling five tabs.
This article covers how Zapier works from scratch: triggers, actions, multi-step Zaps, filters, and practical templates you can set up in minutes. You'll also learn where Zapier fits in a broader automation stack and when a visual AI workflow tool like AI Flow Chat might be the better pick for content-heavy processes. Let's get into it.
What Zapier workflow automation is
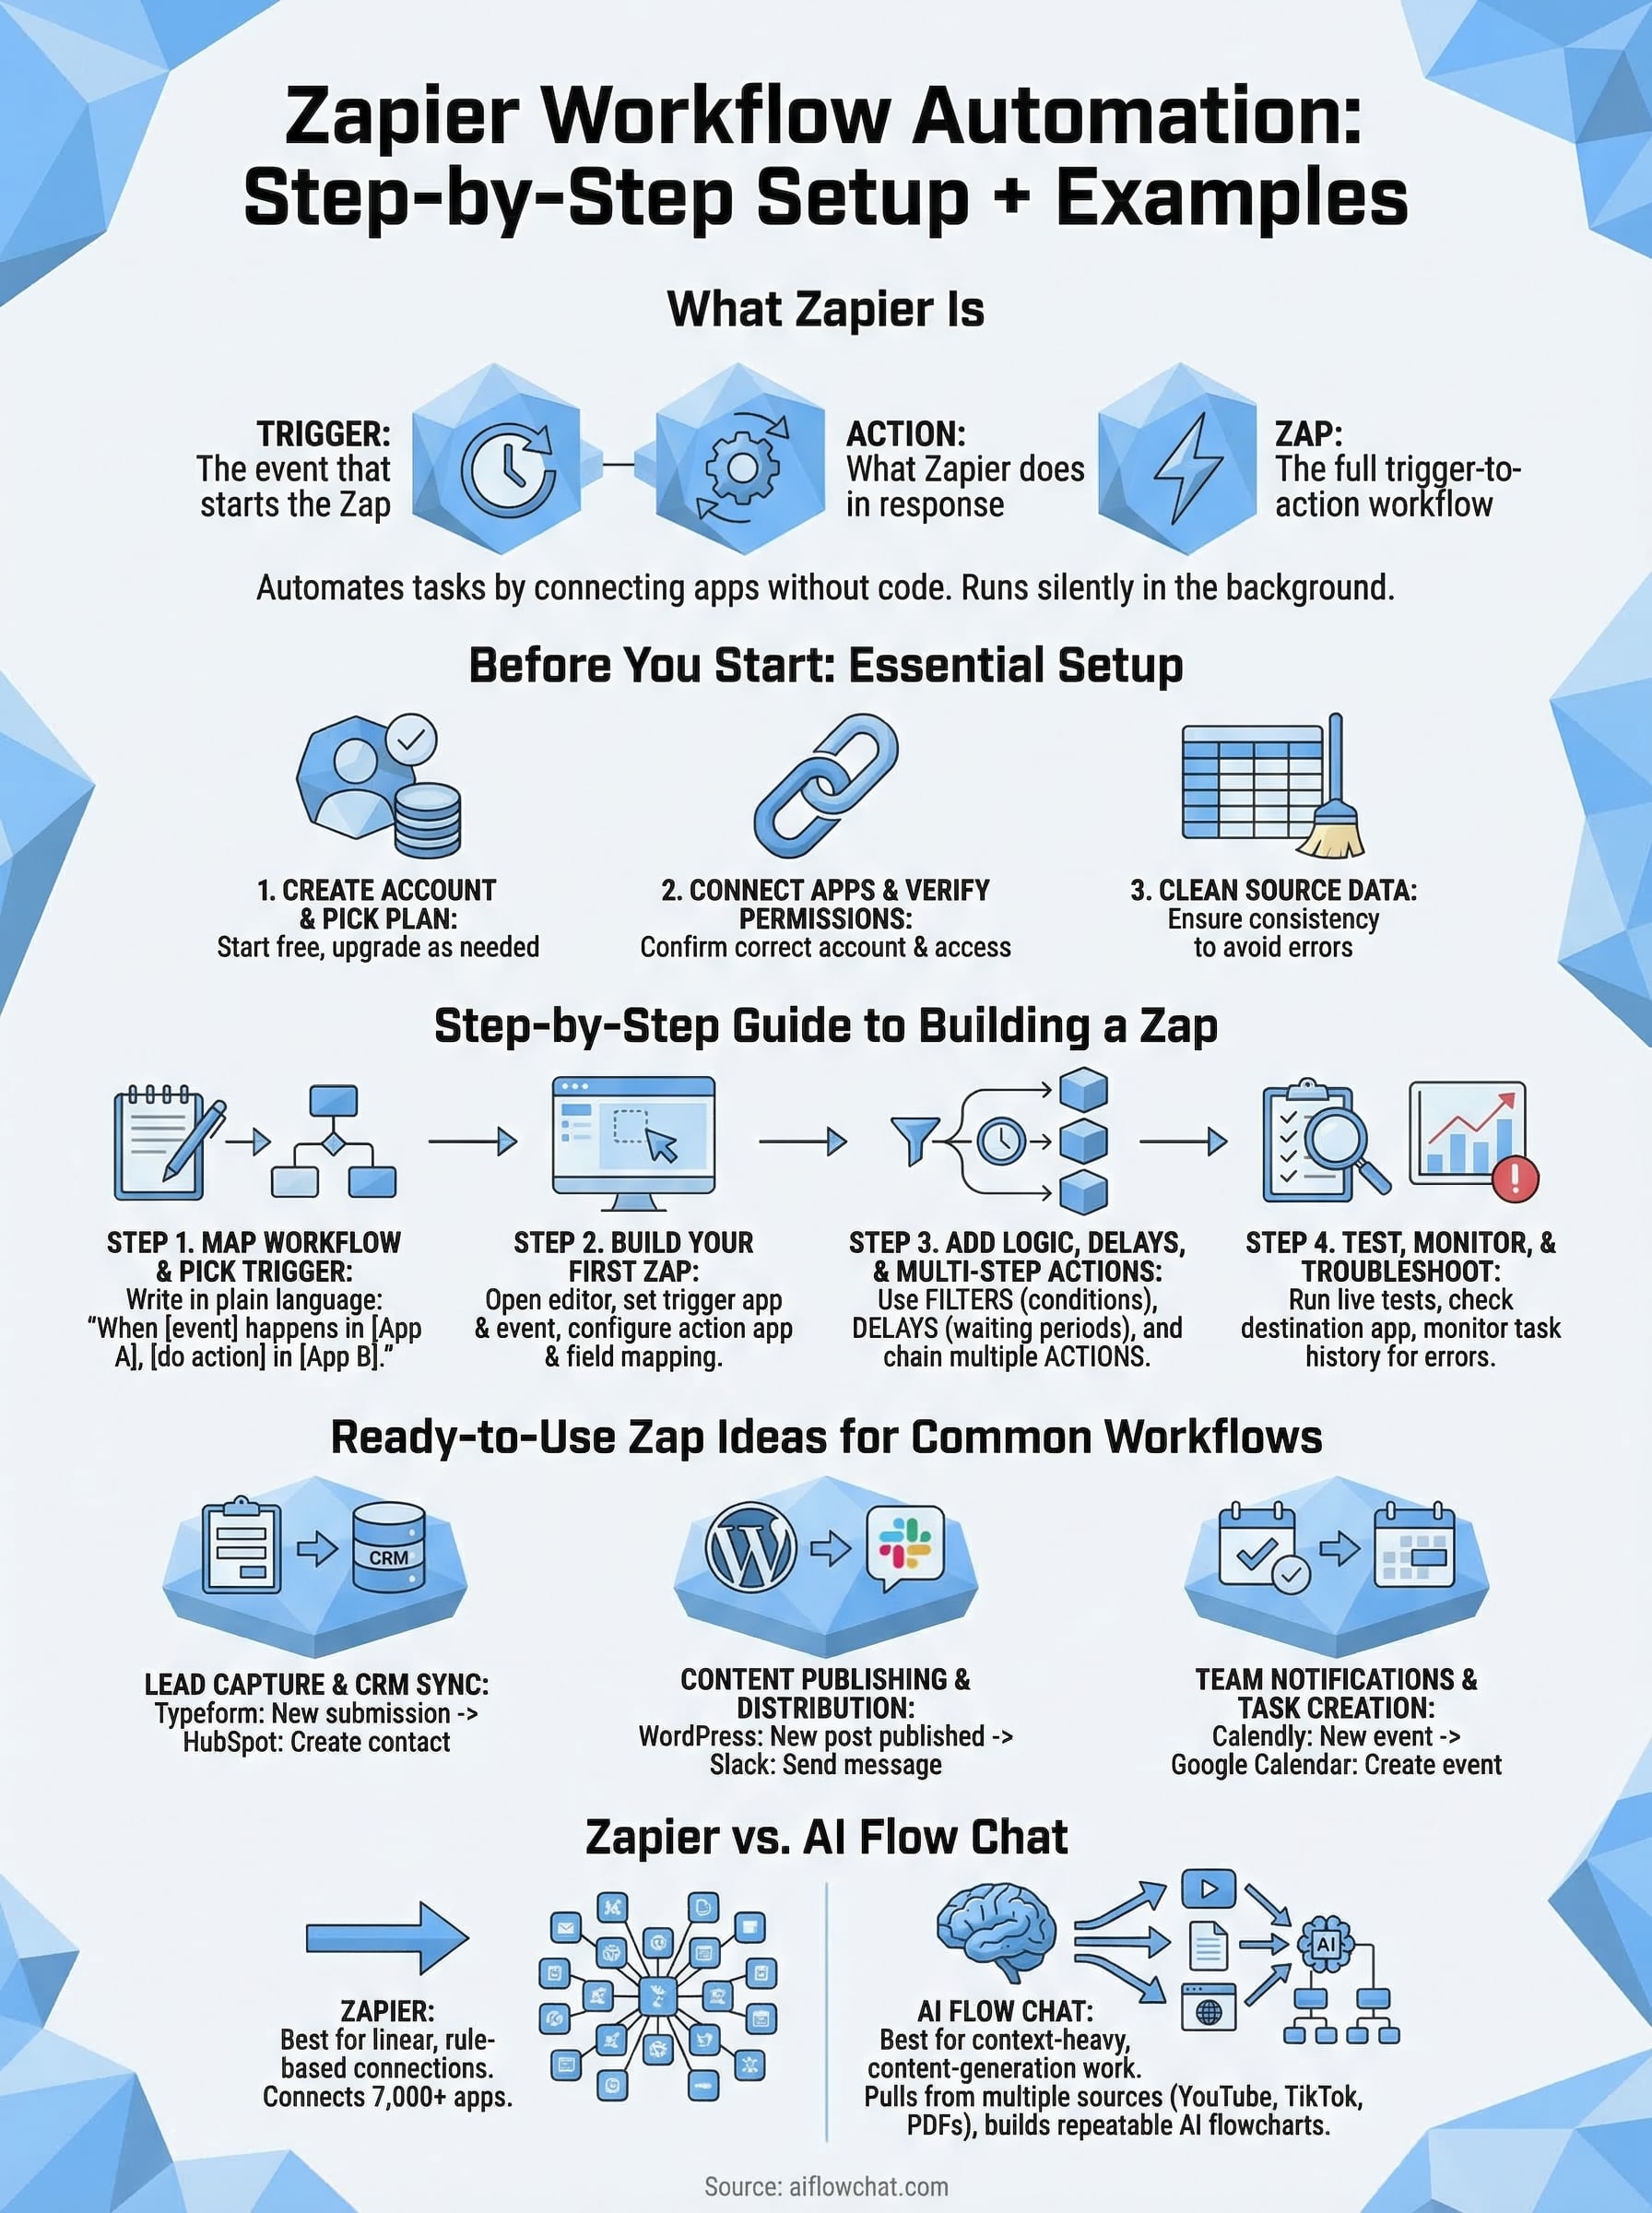
Zapier workflow automation is a method of connecting separate web apps so they pass data between each other automatically, without you writing a single line of code. Each automated connection is called a Zap, and every Zap follows the same basic pattern: something happens in one app (a trigger), and Zapier uses that event to perform one or more actions in other apps. The result is a repeatable, hands-off process that runs every time the trigger condition is met.
The core building blocks: triggers, actions, and Zaps
A trigger is the event that starts a Zap. For example, a new row added to a Google Sheet, a form submission in Typeform, or a new email landing in a Gmail label. Once a trigger fires, Zapier runs the action you configured, which could be creating a task in Asana, sending a Slack message, or logging data to a CRM.
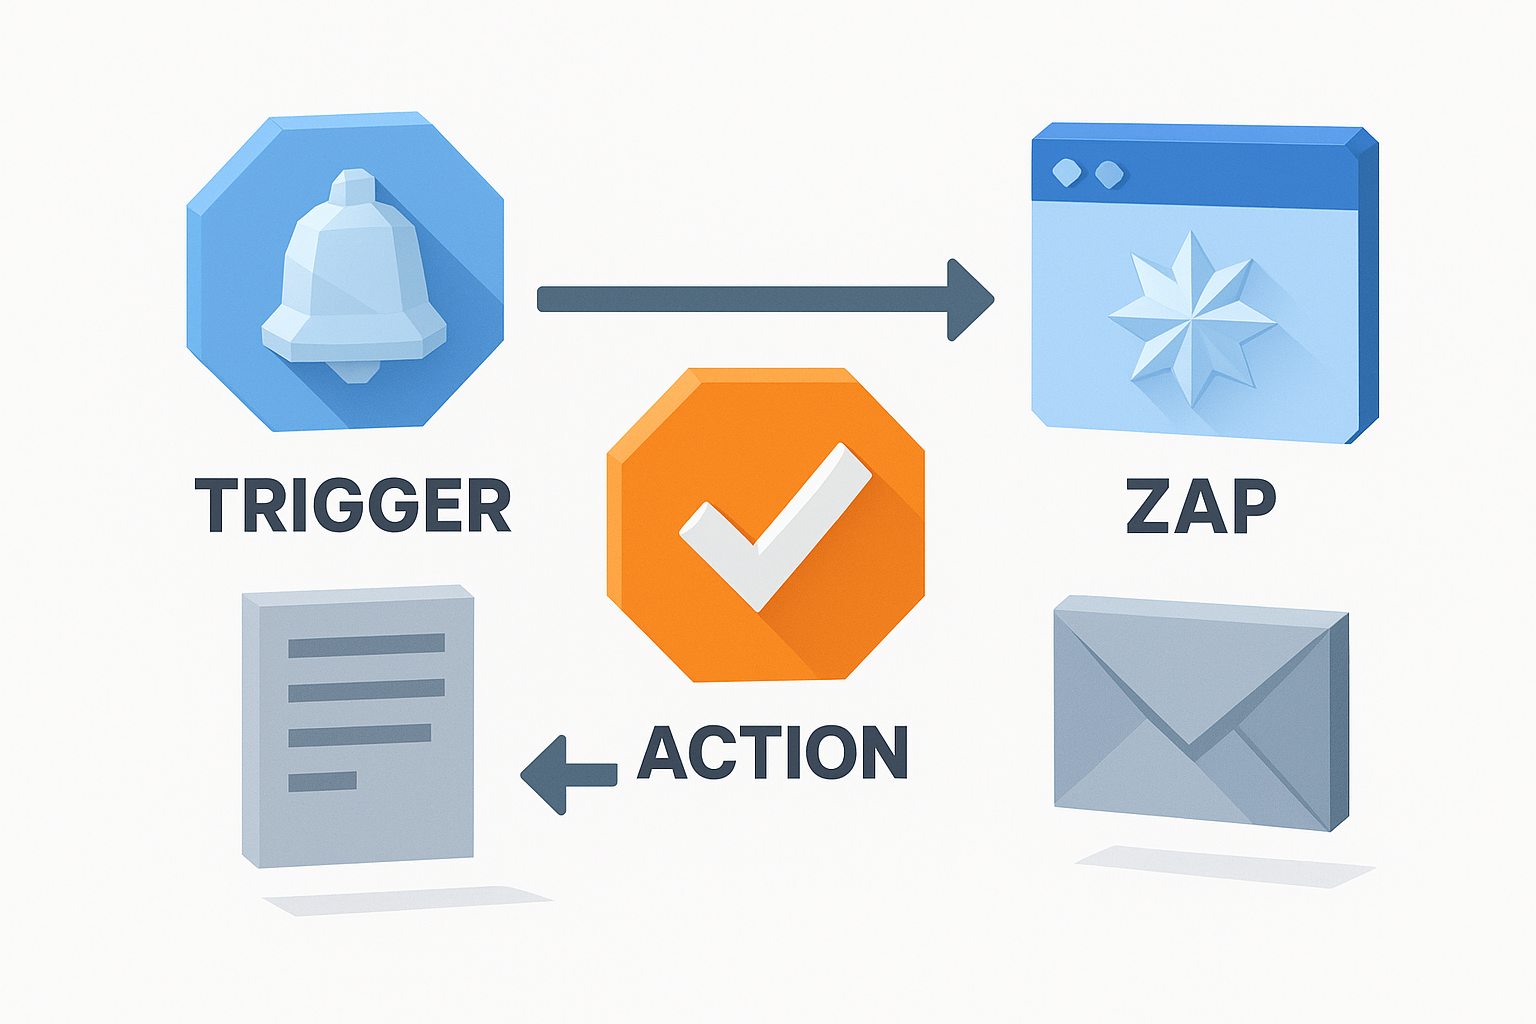
A single Zap can chain multiple actions together, so one trigger event can update a spreadsheet, notify your team, and email a customer all in one sequence.
Each action step can reference data from earlier steps. If a form submission captures a contact's name and email, both fields travel through the Zap and can populate fields in every subsequent action automatically. Here's a quick reference for the three core concepts:
| Term | What it means | Example |
|---|---|---|
| Trigger | The event that starts the Zap | New row in Google Sheets |
| Action | What Zapier does in response | Send email via Gmail |
| Zap | The full trigger-to-action workflow | Sheet row sends Gmail email |
How Zaps run in the background
Once you turn a Zap on, Zapier polls your trigger app at regular intervals (every 1 to 15 minutes depending on your plan) to check for new events. When it finds one, it fires the action steps immediately. You don't have to open Zapier or press anything; the workflow runs silently in the background while you focus on other work.
This polling model makes Zapier ideal for tasks you'd otherwise handle manually on a schedule. Think about syncing lead data from a website contact form to a spreadsheet every time a new submission comes in, or copying a customer support ticket to a project management board the moment it gets created.
What Zapier does and does not handle well
Zapier handles linear, rule-based connections between apps extremely well. If your workflow maps cleanly onto "when this, do that," Zapier is a strong fit. It supports over 7,000 app integrations, so the tools you already use are likely available.
Where Zapier runs into limits is context-heavy, content-generation work. Automating a form-to-spreadsheet connection is straightforward. But if you need to pull a transcript from a YouTube video, cross-reference it with a competitor ad, and generate a finished social post in your brand voice, that's a multi-source reasoning task that standard automation tools aren't built for. That kind of work requires a visual AI canvas that can hold references, prompts, and outputs in the same space.
For the scope of this guide, the focus stays on what Zapier does best: connecting apps, moving data, and removing repetitive manual steps from your daily routine.
Before you start: accounts, access, and data
Before you build anything, spend five minutes on setup. Zapier workflow automation only works reliably when your accounts are connected correctly and your source data is clean and consistent. Skipping this step leads to broken Zaps, missing fields, and debugging sessions that eat far more time than the prep work would have.
Create your Zapier account and pick a plan
Go to zapier.com and sign up for a free account. The free plan supports five active Zaps with single-step actions, which is enough to test the platform and run a few basic automations. If you need multi-step Zaps, filters, or conditional logic, a paid plan is required. Start with free, build one Zap end to end, and upgrade only when you hit a specific limit rather than guessing which tier you need upfront.
The free plan is a real working tool. Many light users run their core workflows on it permanently without ever needing to upgrade.
Connect your apps and verify permissions
Every Zap pulls data from at least one app and writes to at least one other. Before you build your first Zap, go to the "My Apps" section inside Zapier and connect the tools you plan to use. Zapier uses OAuth for most connections, meaning you log into each app and grant access without sharing your password directly.
Check each item below when connecting an app:
- Account scope: Confirm you're connecting the right account, business versus personal, for each tool.
- Permission level: Some apps require admin access to trigger on specific events. Verify your account role before building.
- Shared resources: If you're automating a team inbox or a shared spreadsheet, confirm you have access to that specific file or folder, not just the app itself.
Clean up your source data before you build
Messy data creates broken Zaps. If your trigger app is a Google Sheet, make sure every column header is clear and consistent before you connect it. If it's a form, review every field name so Zapier maps them accurately. Remove blank rows, fix inconsistent formatting, and confirm that required fields are always populated. A Zap built on clean data runs without errors from day one and rarely needs manual fixes.
Step 1. Map your workflow and pick the trigger
Before you open Zapier, write your workflow down in plain text. Skipping the mapping step is the most common reason new Zaps fail or need to be rebuilt. When you build without a clear plan, you connect the wrong trigger, miss a required field, or discover halfway through that the app you want doesn't support the event you need.
Write out the process in plain language
Start with a single sentence that describes what you want to automate: "When [event] happens in [App A], [do this action] in [App B]." Keep it to one sentence. If you need two sentences, you're describing two separate Zaps, not one. This exercise forces clarity before you touch the interface and saves you from tearing apart a half-built workflow later.
If your sentence includes the word "sometimes" or "maybe," you need a filter step, not just a trigger and action.
Here's how that sentence-mapping looks for three common workflows:
| Goal | Trigger app + event | Action app + task |
|---|---|---|
| Capture web form leads | Typeform: New submission | Google Sheets: Create row |
| Alert team on new sale | Stripe: New payment | Slack: Send channel message |
| Sync email signups to CRM | Mailchimp: New subscriber | HubSpot: Create contact |
Choose the right trigger event
Not every app offers every trigger you might expect. Once you search for an app inside Zapier, you'll see a dropdown of supported trigger events for that app. Browse the full list before committing, because some events are only available on paid plans and some apps split similar events into separate triggers. Google Sheets, for example, offers "New Row" and "New or Updated Row" as distinct options, and picking the wrong one produces duplicate actions on every edit.
For zapier workflow automation to run without errors, your trigger event needs to fire consistently and carry all the data your action step requires. Confirm this by checking what fields the trigger returns during your test run in Step 4. If a field your action needs is missing from the trigger output, fix the source app setup first before you finish building the Zap.
Step 2. Build your first Zap from scratch
With your workflow mapped and your apps connected, you're ready to build. Zapier workflow automation starts inside the Zap editor, which walks you through each step in a linear builder. The interface is straightforward, but the order you follow matters, so work through these steps without skipping ahead.
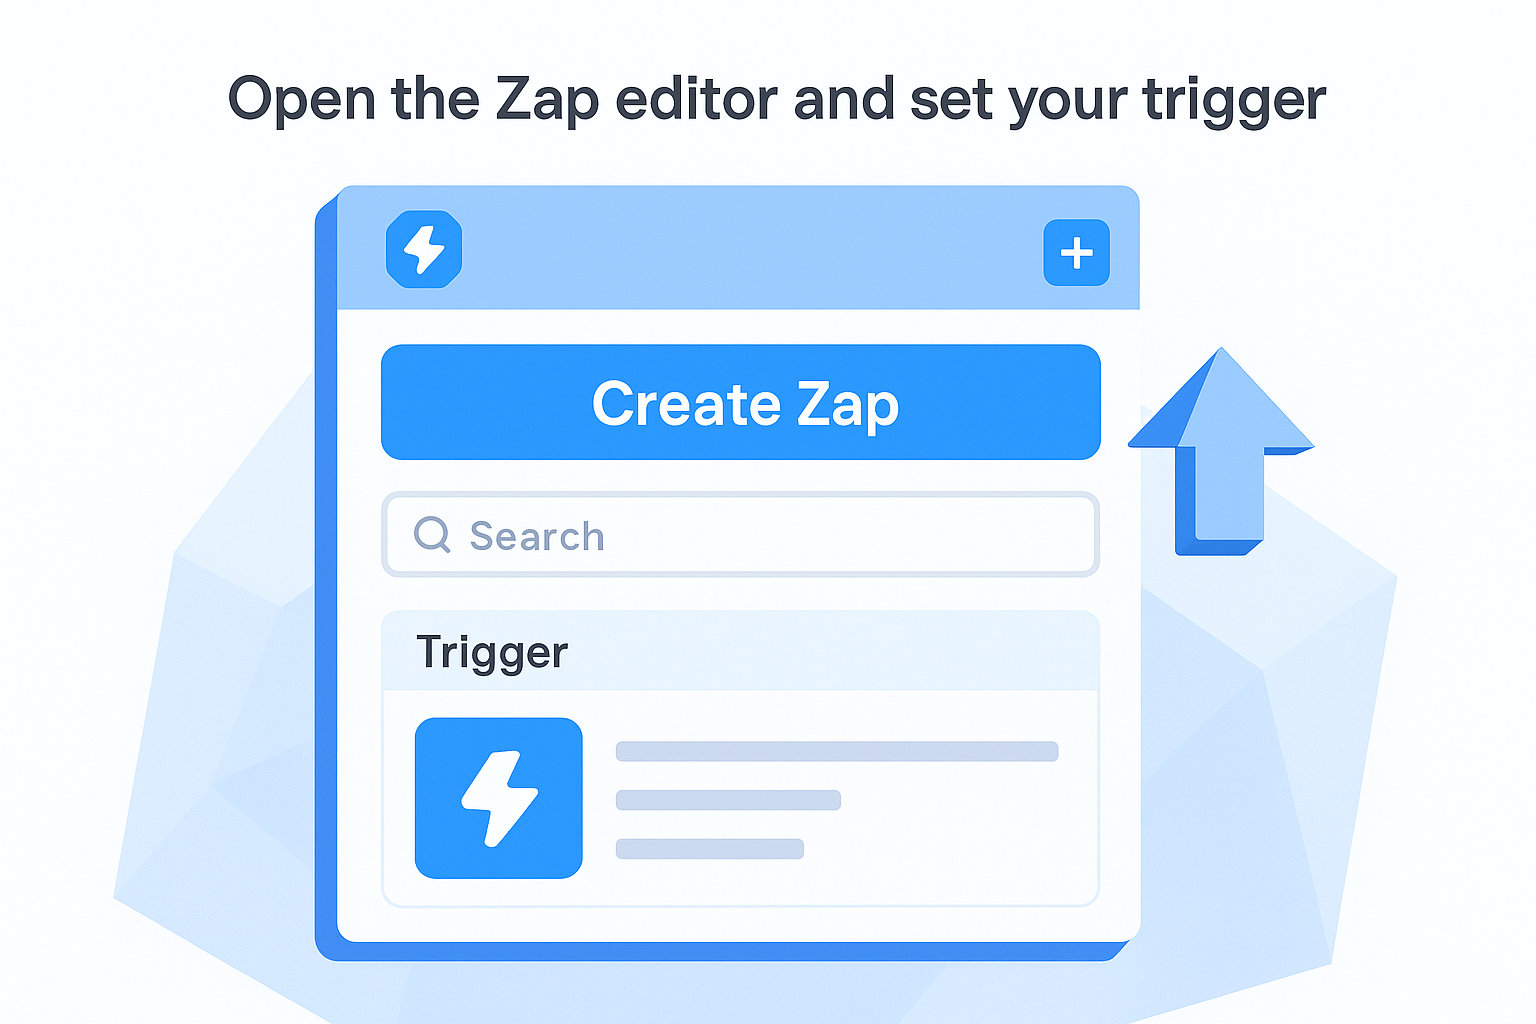
Open the Zap editor and set your trigger
Click "Create Zap" from your Zapier dashboard to open the editor. The first thing you'll do is configure your trigger. Search for your trigger app by name, select it, and then choose the specific trigger event you identified during your mapping step. After you select the event, Zapier asks you to choose the connected account you want to use, pick the one you verified earlier in "My Apps."
Once you confirm the account, Zapier asks for any additional setup details. For a Google Sheets trigger, for example, you'll select the specific spreadsheet and worksheet. After that, click "Test trigger" to pull in a real sample record from your app. This sample is what Zapier uses to show you available data fields for the action step, so make sure the sample contains all the fields your action will need.
If your test returns no data, add a real row or record to your source app first, then re-run the test.
Configure the action and name your Zap
Click the "+" button below your trigger to add an action step. Search for your action app, select it, choose an action event such as "Create Row" or "Send Message," and connect the account. You'll then see a field mapping screen where you assign data from your trigger to the fields in your action app. Click into each field and select the matching trigger data point from the dropdown.
Here's a simple field mapping example for a Typeform-to-Sheets Zap:
| Sheets column | Maps to Typeform field |
|---|---|
| Name | Full Name (Q1) |
| Email Address (Q2) | |
| Submission date | Submitted At |
After mapping every required field, name your Zap something descriptive at the top of the editor, then click "Publish." Your Zap is now live and will run automatically every time the trigger fires.
Step 3. Add logic, delays, and multi-step actions
A single trigger-to-action Zap handles simple tasks well, but most real workflows need more control. Zapier workflow automation gives you three tools to add that control: filters, delays, and multi-step action sequences. Each one builds on the last, so add them in this order once your basic Zap is working.
Add filters to control when a Zap fires
Filters tell Zapier to only continue a Zap when specific conditions are met. Without a filter, every trigger event runs the Zap regardless of the data it carries. Click the "+" button between your trigger and action, select "Filter," and set your condition using the field values from your trigger. For example, if you want a Zap to only fire when a form submission includes the word "urgent" in the subject field, you set the filter to: Subject > Contains > urgent.
A Zap with no filter runs on every single trigger event, which leads to noise, wasted tasks, and unwanted actions in your connected apps.
| Filter condition | When to use it |
|---|---|
| Text contains | Catch keywords in form fields or email subjects |
| Number greater than | Trigger only on purchases above a certain amount |
| Exists | Only proceed if a specific field was filled in |
Use delays to control timing
Delays insert a waiting period between steps, which is useful when you want to send a follow-up message 24 hours after a trigger fires instead of immediately. Add a "Delay" step between your trigger and action, then set the duration in minutes, hours, or days. Keep in mind that the Zap holds the task in a queue during the delay, so any data from the trigger is preserved and available to the action once the delay completes.
Chain multiple actions in sequence
Multi-step Zaps let you stack as many actions as you need after a single trigger. Click "+" after your last action to add another step, then configure it the same way you configured your first action. Each step can reference data from the trigger and from any previous action step, so a second action can use output fields generated by the first. For example, after creating a row in Google Sheets, a second step can email the contact whose data was just logged, all from one trigger event.
Step 4. Test, monitor, and troubleshoot issues
Publishing a Zap without testing it is the fastest way to send duplicate messages, create blank records, or miss data entirely. Zapier workflow automation gives you a built-in test tool inside the editor, and you should use it every time you build or modify a Zap, not just the first time.
Run a live test before you publish
Every action step in the Zap editor has a "Test action" button. Click it after you finish mapping your fields. Zapier will use the sample trigger data you pulled earlier and attempt to perform the action for real, meaning it will actually create a row, send a message, or update a record in your connected app. Check your destination app immediately after the test runs to confirm the data landed in the right place and every field populated correctly.
If your test action succeeds in Zapier but the data looks wrong in the destination app, the issue is almost always a field mapping error, go back and re-check each mapped field.
Look for these three problems during your test:
- Empty fields: A required field in the action app received no data because the trigger field was blank or misnamed.
- Wrong format: A date or number field received plain text because the source app outputs a different format than the destination app expects.
- Wrong account: The action ran in a personal account instead of a business account because you selected the wrong connected account during setup.
Monitor task history and catch errors early
Once your Zap is live, open "Task History" from your Zapier dashboard regularly. This log shows every time your Zap ran, whether it succeeded, and exactly which step failed if it did not. Each failed task shows a specific error message that tells you what went wrong, which app returned the error, and which field caused the problem. Treat this log as your first stop whenever something seems off.
Check your task history at minimum once a week for new Zaps and once a month for established ones. Filter the log by "Errored" to surface only the failures, then fix each one by revisiting the step shown in the error detail and updating the field mapping or account connection as needed.
Ready-to-use Zap ideas for common workflows
The fastest way to get value from zapier workflow automation is to start with a workflow you already do manually every day. Each idea below is a working Zap pattern you can set up in under 15 minutes. Copy the trigger-action pair that matches your situation, follow Step 2 to build it, and you'll have your first automated workflow running before the end of the day.
Lead capture and CRM sync
Every time someone fills out a form on your site, you're probably copying that data somewhere by hand. This Zap pattern eliminates that step entirely by pushing form submissions directly into your CRM or a tracking spreadsheet the moment they arrive.
| Trigger | Action | Use case |
|---|---|---|
| Typeform: New submission | HubSpot: Create contact | Sales lead capture |
| Google Forms: New response | Google Sheets: Create row | Event registration log |
| Facebook Lead Ads: New lead | Mailchimp: Add subscriber | Email list growth |
Set a filter before the action step to skip test submissions, use a field condition like Email > Does not contain > @test.com to block internal entries.
Content publishing and distribution
Once you publish a piece of content, distributing it across channels is repetitive work. These Zap patterns handle distribution automatically so you spend time creating, not copying and pasting.
- RSS feed: New item + Buffer: Add to queue (auto-queue every new blog post)
- WordPress: New post published + Slack: Send message (notify your team the moment content goes live)
- YouTube: New video in channel + Notion: Create database item (log every new video into your content tracker)
Team notifications and task creation
Missed notifications slow teams down. These Zaps route the right information to the right person without requiring anyone to monitor five different inboxes.
| Trigger | Action | Use case |
|---|---|---|
| Stripe: New payment | Slack: Send channel message | Alert sales team on every new purchase |
| Gmail: New labeled email | Asana: Create task | Turn flagged emails into action items |
| Calendly: New event | Google Calendar: Create event | Sync booked meetings across calendars |
Pick one Zap from each category above, build it this week, and you'll have three automated workflows running by Friday.
Where to go next
You now have everything you need to build and run zapier workflow automation from scratch: triggers, actions, filters, delays, multi-step sequences, and a set of ready-to-use Zap templates. The best next step is to pick one manual task you repeat every week and automate it today using the patterns in this guide. Start with a single Zap, test it until it runs clean, then stack a second one once the first is stable.
Zapier handles app-to-app data movement well, but it stops short when your workflow requires pulling context from videos, competitor ads, or documents and turning that research into finished content. That's where a different approach pays off. AI Flow Chat gives you a visual AI canvas to drag in sources from YouTube, TikTok, PDFs, and websites, then build repeatable content workflows that run on autopilot, no code required.
Continue Reading
Discover more insights and updates from our articles
Writing SEO content without a clear brief is like building a house without blueprints, you'll waste time, miss key details, and end up reworking most of it. A good content brief generator takes the gu...
Every manual task inside your CRM, updating a lead status, sending a follow-up email, assigning a case to the right rep, costs time you could spend on work that actually moves revenue. Salesforce work...
Most people use "content strategy" and "content marketing strategy" interchangeably. They're not the same thing. The difference between them isn't just semantics, it affects how yo...